Everything we love about our nomadic lifestyle depends on one thing … a speedy RV internet connection.
Without it, we couldn’t keep our businesses running smoothly, which means we couldn’t pay our bills. So having reliable internet service in the RV is more than just important to us — it’s crucial.

Time for an RV Internet Upgrade
Two years ago, we beefed up the internet equipment in our office-on-wheels, but technology is always changing, and our needs have evolved, too. Rod’s now coaching and running firm-wide training programs using a video conferencing platform. And GoPetFriendly.com is growing and requiring more bandwidth. In other words, we’re both feeling the need for speed!
But our old internet configuration wasn’t keeping up. A conversation with our techie friend confirmed our suspicions. We needed an upgrade.
*This post contains affiliate links. Thank you!*
Building On The Foundation
Fortunately, our new RV internet setup will include some of the equipment we installed two years ago. The CradlePoint MBR1400 broadband router still meets our needs, and the Wilson 311119 RV / Trucker Roof Mount Cellular Antenna is working fine.
The developments in cellular data services that had outpaced our old system are LTE-Advanced. This allows for carrier aggregation, and multi-antenna capabilities or MIMO (multiple in – multiple out). Our buddy recommended some new components to leverage these changes, and we set a date for the installation.
The Installation
1. Dual Antennas
Internet connection speeds can vary depending on your location, how many other people are using the tower, and even the weather. So to gauge the impact of our upgrades we ran a speed test on our network just before we began installing the new equipment. According to Speedtest.net we were getting 7.01 Mbps download and 9.8 Mbps upload.
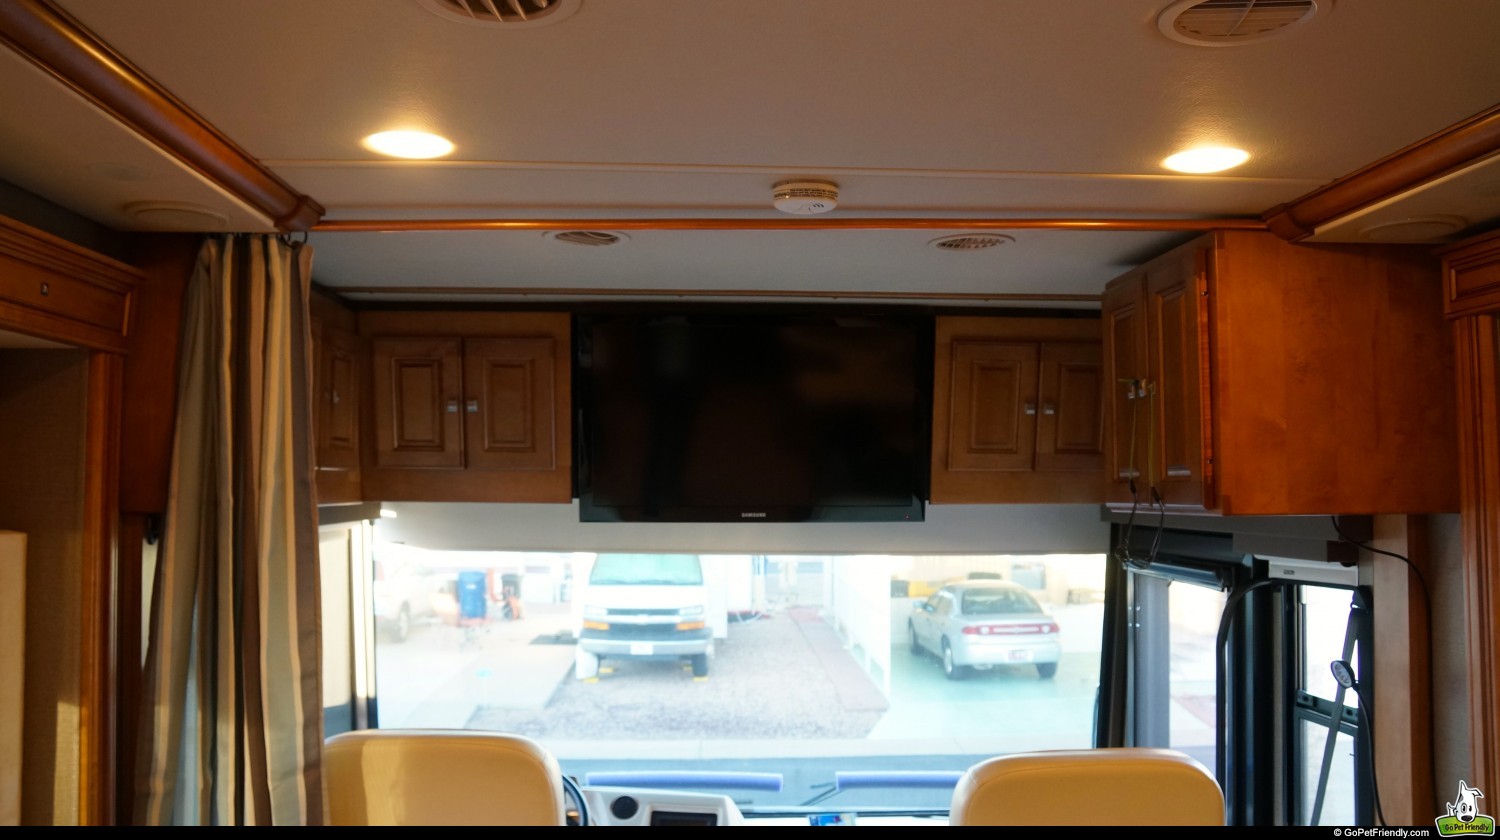
Our first improvement was to add a second trucker’s antenna to the RV. Wilson’s new trucker’s antenna offers some benefits over our older model, but one drawback for us is that it comes with a bracket for mounting on a mirror rather than through-the-roof.
Since w already have one antenna on the roof, and I’m a fan of reusing things when we can, we chose to get another Wilson 311119 second-hand rather than ponying up for two new antennas. If you’re installing internet for the first time, going with two of Wilson’s newer 304415 model might make sense for you.
weBoost 4G-OTR Cellular Antenna Truck Edition With 3-Way Mount![]()

To optimize performance, the two antennas should be mounted at least four feet apart, and not in the way of any moving objects (like a satellite dish). Additionally, when it comes to antennas, shorter cables are aways better. So, keeping the four-foot separation in mind, place your antennas as close as possible to your modem’s location.
Installing Dual Antennas
In our case, we already had one hole through the roof where the antenna on the right was installed. Since we didn’t want to drill another hole to move that antenna, we placed the second antenna on the left side of the motorhome. This allowed us to accomplish the four-foot separation without interfering with our slide. Fortunately, that location aligned with a speaker in the RV’s ceiling, which gave us easy access to the roof and made for a simple install.
If we’d been starting from scratch, we’d probably have put the first antenna in the right front corner of the RV and the second about four feet back on the same side. That positioning would have kept our cable runs shorter, while still giving the antennas the buffer they need.![]()

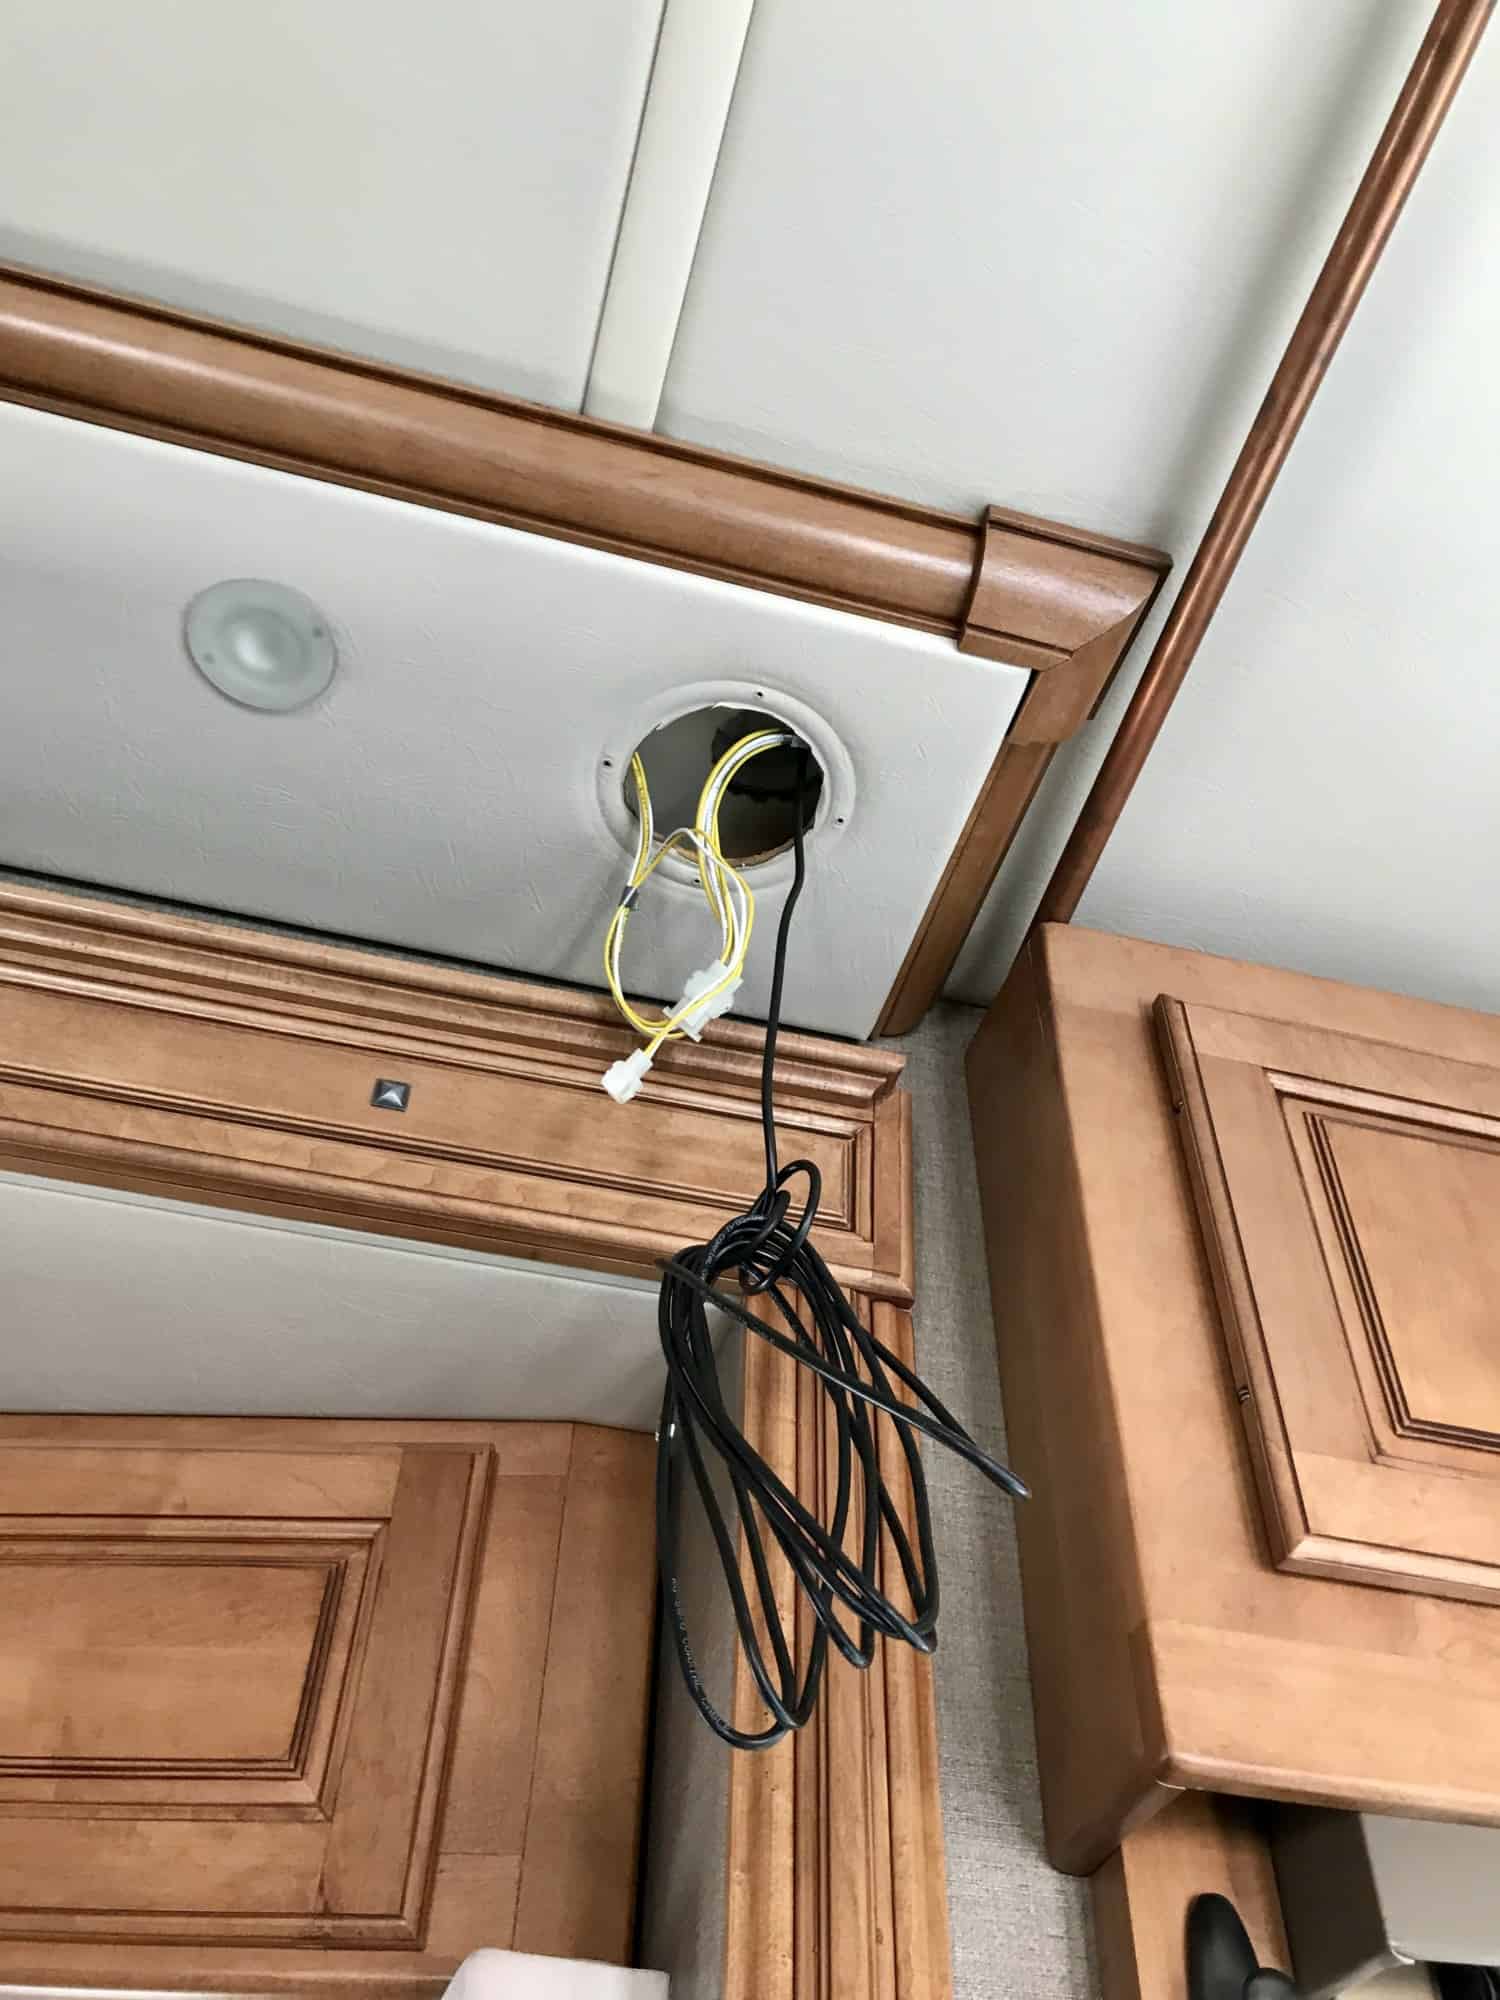
Running the cable from the driver’s side of the RV to the passenger side where our equipment cabinet is located also turned out to be easy. Years ago we installed a curtain to separate the driving compartment of the coach from the living space to keep Buster from barking at oncoming traffic. He outgrew that habit (thank goodness!), but we still use the curtain when we’re using the furnace or air conditioner. By blocking off the driving compartment, it reduces the area we’re heating or cooling.
For this project, the copper pipe we used as a curtain rod made an efficient conduit to get our antenna cable across the RV. cabinet!
The final step in preparing your antenna is to shorten the cable. Leave some room for maneuvering and replace the SMA male connector on the end with a FME female connector.
2. The Modem
Our old modem was severely behind the times when it came to LTE-Advanced and MIMO capabilities, so we upgraded to the Sierra MC7455.
SIERRA WIRELESS module MC7455 LTE 4G module

![]()
This circuit board was installed in an Oley Mini PCI-E to USB Adapter with SIM Card Slot protection box so it could be connected to the rest of our components.
Oley Mini PCI-E to USB Adapter With SIM Card Slot Protection Box for WWAN/LTE Module![]()

![]()
With the Sierra MC7455 installed in the protection box, we tossed the two small antennas that came with the unit. Using the two RP-SMA male to SMA female adapters allowed us to connect the trucker’s antenna cables to the modem. The Oley box has a full-sized SIM card slot, so you might also need a SIM card adapter set to allow you to slip the SIM card from your mobile wifi device into the modem.
3. Raspberry Pi Single Board Computer
A new component to our upgraded setup is the Raspberry Pi 3B, a single board computer.
Raspberry Pi 3 Model B Motherboard![]()
![]() This is also circuit board, which needs to be installed in the Flirc RPi case so it can be connect to the other components.
This is also circuit board, which needs to be installed in the Flirc RPi case so it can be connect to the other components.

The Raspberry Pi acts as a gateway for the system. The firmware required to operate it can be flashed to a 16GB Class 10 Micro SD card, which then gets installed into the Flirc case. The firmware we used is called ROOter and is open-source.
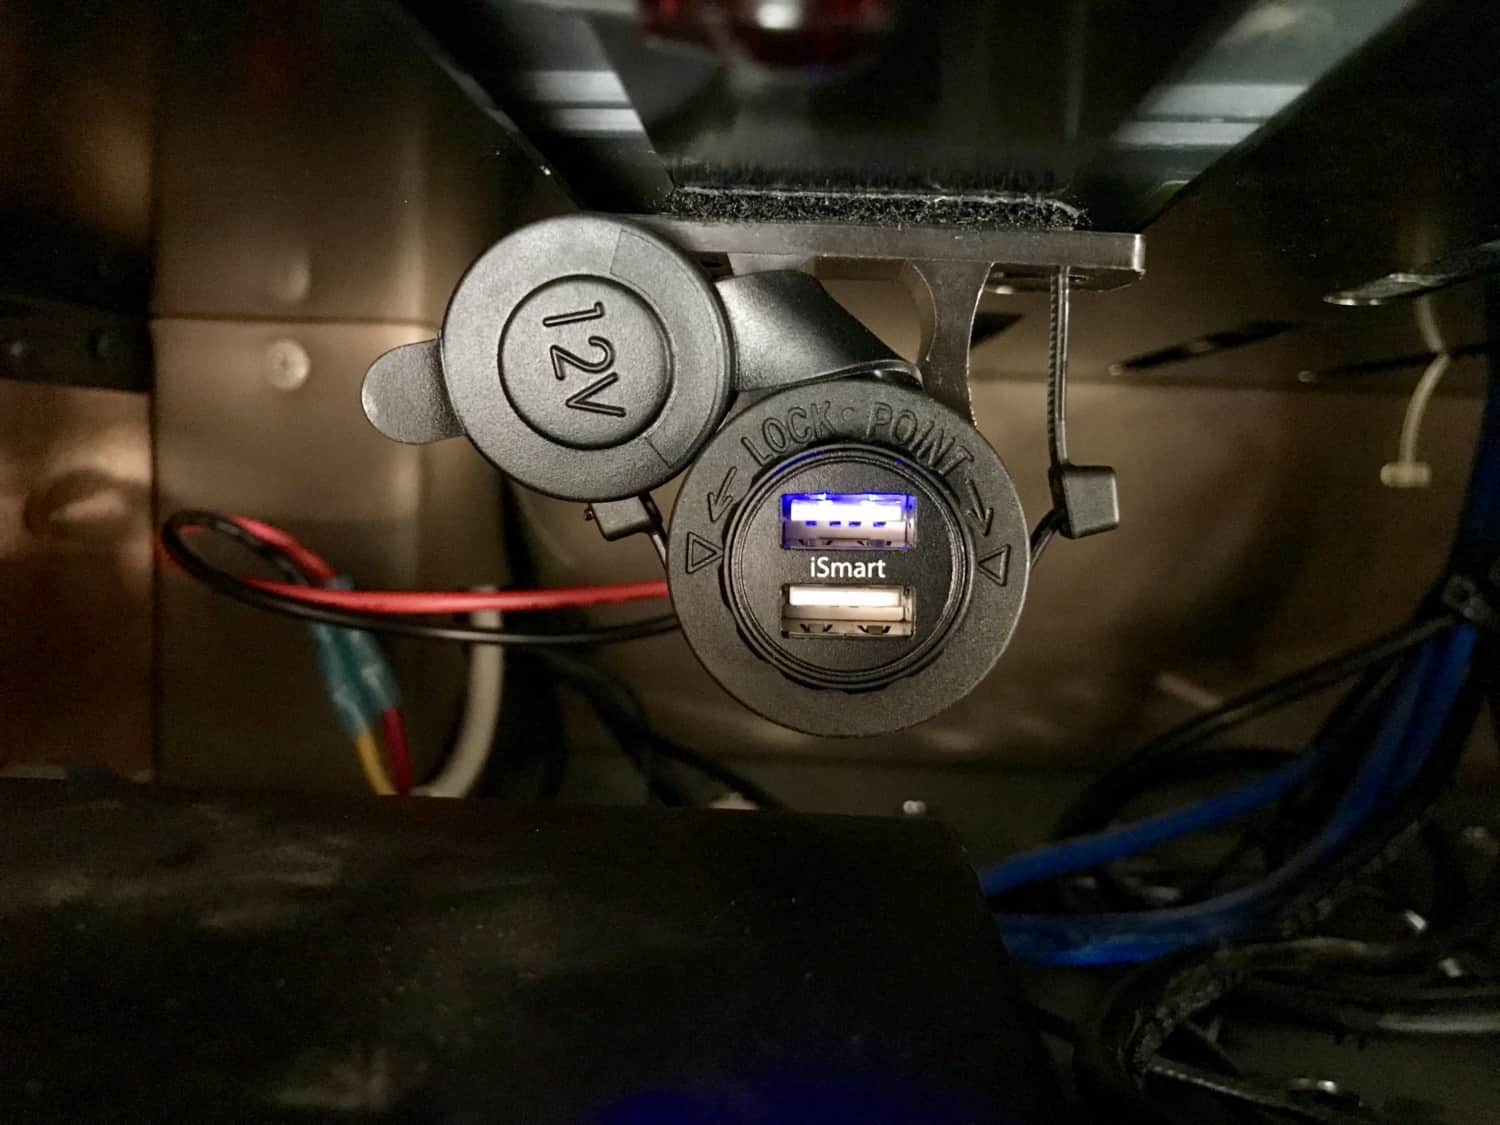
4. Power It Up
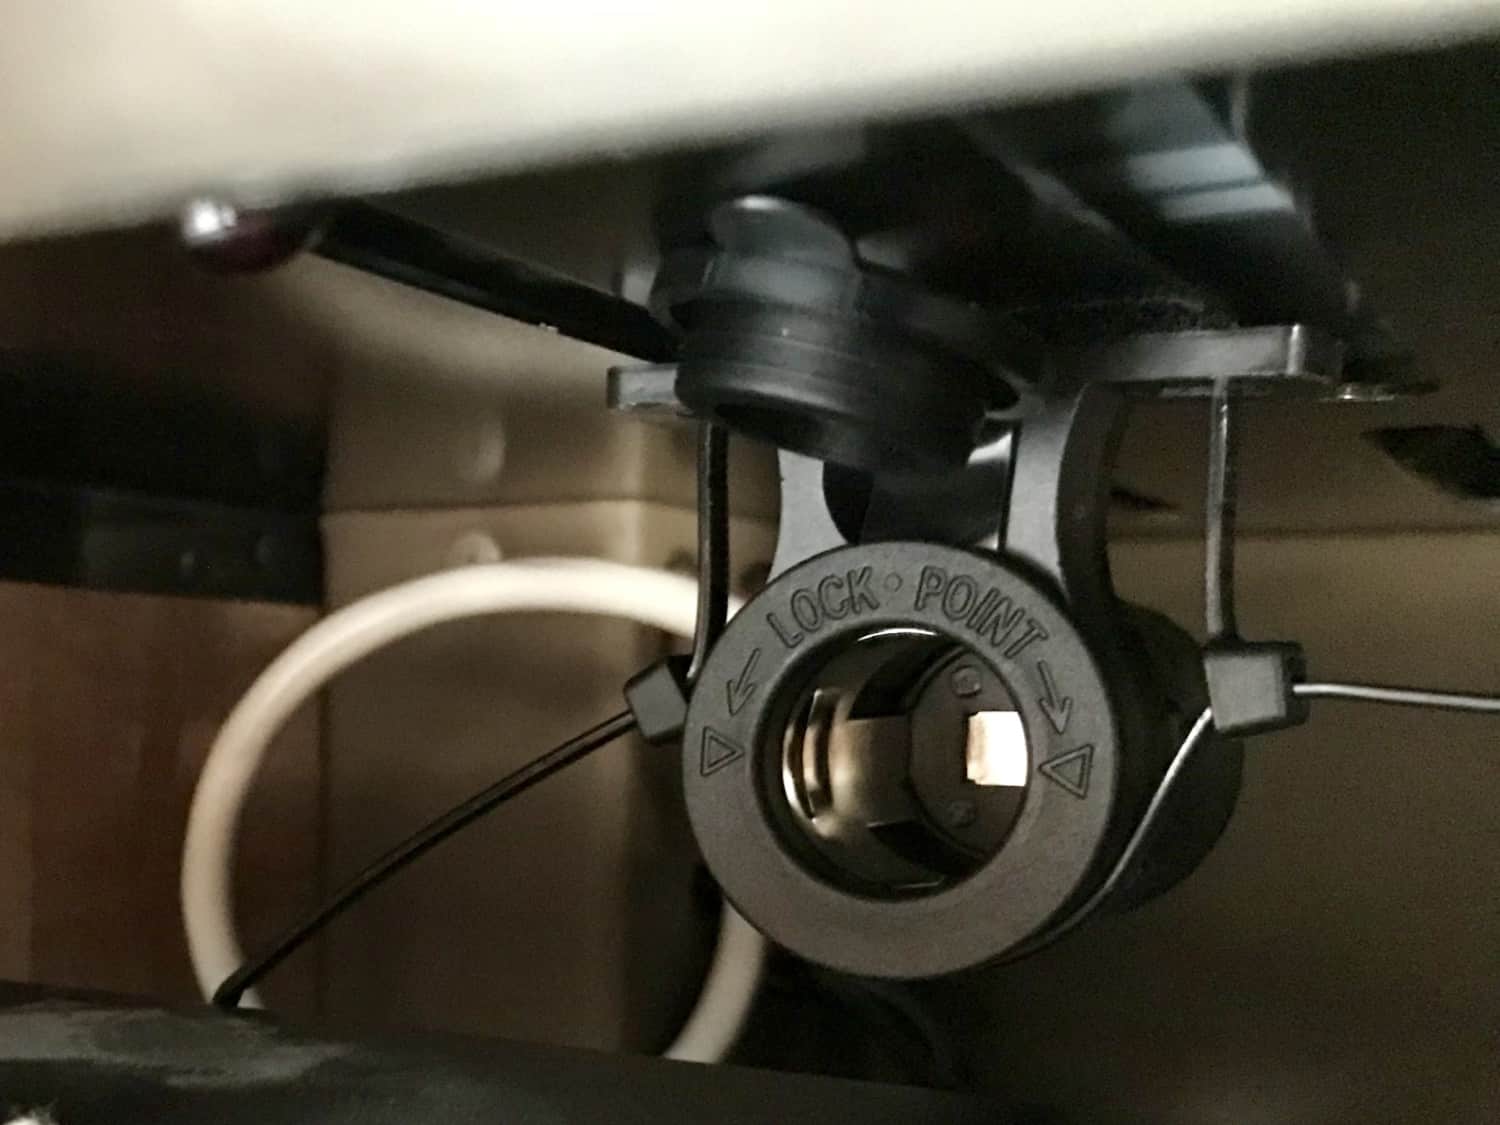
The next step is powering the system. We didn’t have 12-volt power inside our equipment cabinet, so we wired up a surface-mount outlet from a nearby cabinet. Combining that with a USB car charger adapter with two 2.4A USB ports, gave us exactly what we needed.
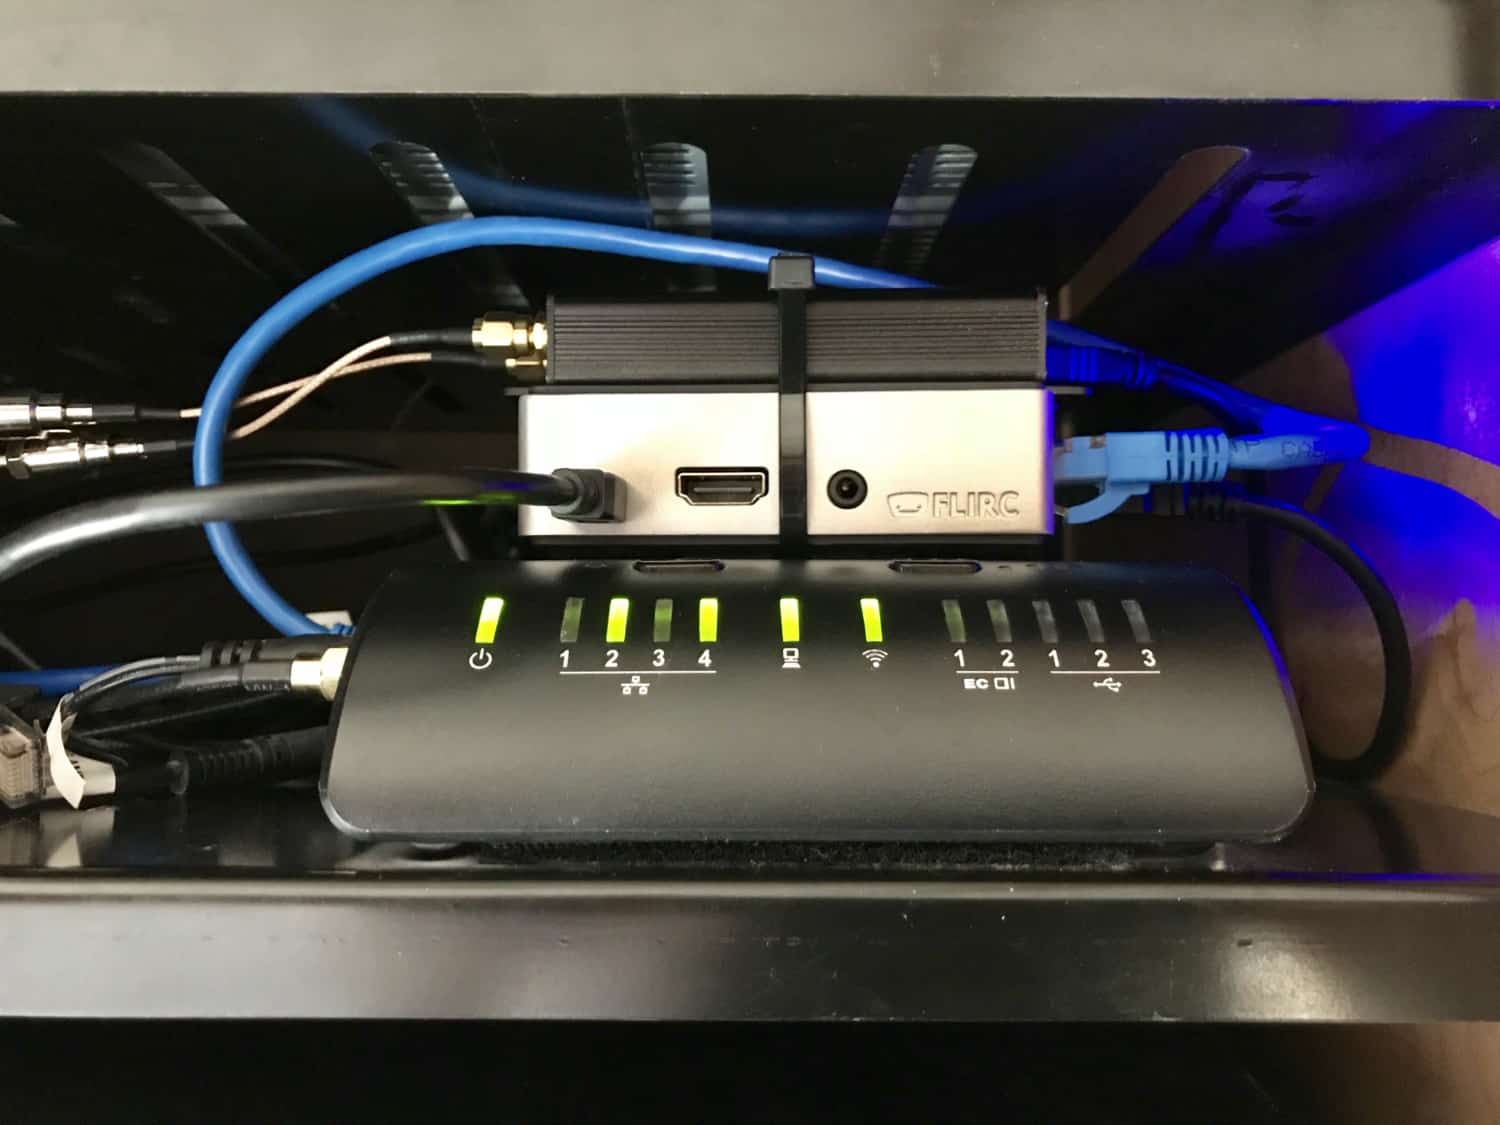
5. Making Connections
With everything in the cabinet, we made the connections to get it up and running. The antennas connected to the modem using the adapters described above. The modem connected to the Raspberry Pi/Flirc case using a short USB cable. The Raspberry Pi/Flirc case connected to the router (in our case, the CradlePoint MBR1400 broadband router) using a Cat6 Ethernet cable. And the Raspberry Pi/Flirc case plugged into the USB car adapter using a USB micro cable.
The next step is to turn on the router and used the ethernet connection to set up the router and modem. The modem needs to be in MBIM mode, and the APN must correspond to your data service provider. The APN for Verizon is usually “vzwinternet.” For AT&T it’s typically “broadband.” And for Sprint, “n.ispsn” usually works.
The BIG Test
The final step of the installation is running another speed test to see how much your RV internet connection has improved. You’ll remember that before the upgrades we were at 7.01 Mbps down and 9.80 Mbps up. After the upgrades we got 24.55 Mbps down and 16.02 Mbps up! That’s an improvement we’ll definitely notice!
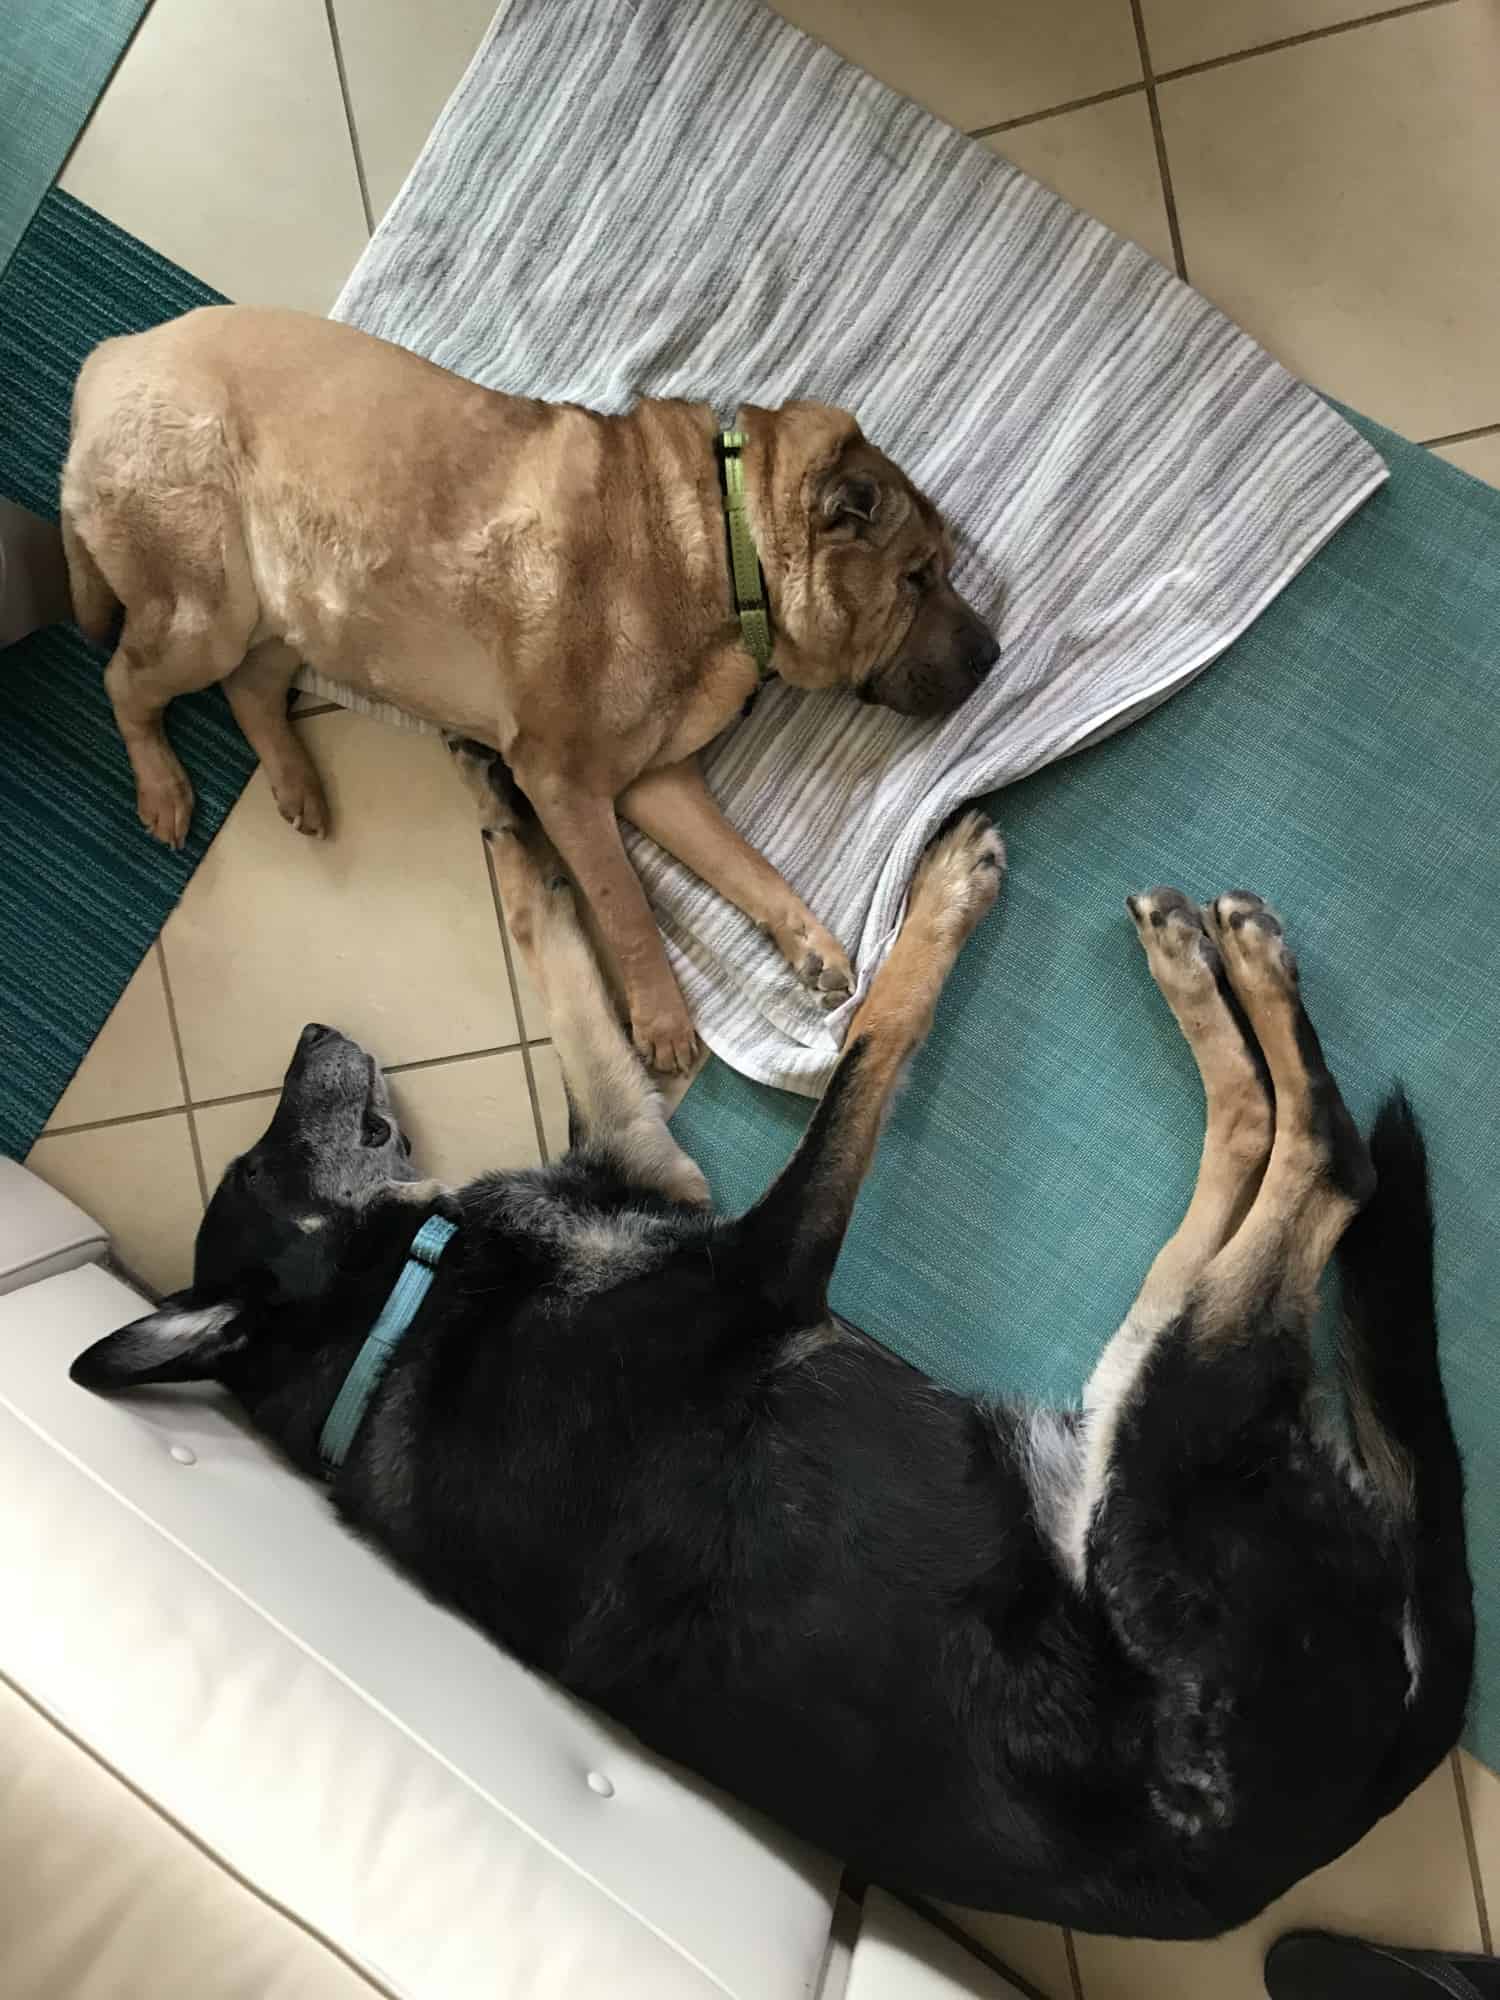
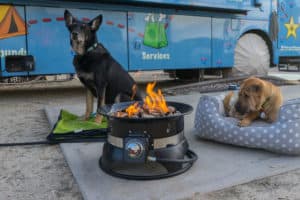
Combined parts and labor for this upgrade, which included me asking a million questions and slowing the install down, came to $750. For the time and frustration the faster connection will save, we feel it was well worth the investment. And, as you can see, Ty and Buster were beside themselves with delight.
Amazon Affiliate Disclosure: GoPetFriendly.com LLC is a participant in the Amazon Services LLC Associates Program, an affiliate advertising program designed to provide a means for website owners to earn advertising fees by advertising and linking to amazon.com, audible.com, and any other website that may be affiliated with Amazon Service LLC Associates Program. As an Amazon Associate, the owner of this site earns a commission from qualifying purchases.


I saved this article quite a while back and still find it to be very useful. Question I have is – are you always on 110ac power in order to run the router? I am thinking to find a router that uses a 12v supply and just wire it in. Saw that an over-priced vendor has a fail-over switch and I am still researching this. There are many options out there but with current conditions, some of the ‘newer’ equipment is hard to locate.
Hi Paul! Thanks for your question. No, we’re not always on 110ac but we do have an inverter, so when we’re not plugged in the router runs off our batteries. I hope that helps!
Amy, what make and model is your RV? Gas or diesel? How pleased are you with it? MPG?
Thanks,
Vic
Hi Vic! We had a 2013 Itasca Meridian, diesel, and we loved it. We got about 9 miles to the gallon when we were towing.
We’ve settled down now and sold the RV, but we have wonderful memories of the 12 years we spent RVing. I hope that helps!
What if you are not tech savvy, can this be done?
I’m not very tech savvy, PJ, and we hired a person to do the installation and setup for us. We probably “could” have done it, but it was A LOT easier to have someone with more experience take care of it. I hope that helps! Good luck to you.
What equipment do you use to boost the cellular LTE signal since the RV pet saftey does not use WiFi?
Hi Gene! As far as I know, there’s no way to boost the cellular signal to the RV Pet Safety temperature monitor. After installing our new WiFi system, we switched to a different temperature monitor that does use WiFi and doesn’t require a monthly fee. I hope that helps!
My head is going to explode! I will be working remotely from the RV in Wilmington, NC. I need to be hard wired with ethernet cable. The campground has wi-fi but of course the signal depends upon how many people are using it. My work has provided me with a Verizon jet pack that plugs into my ethernet port on my computer. Is there something I can get that will allow me to hardwire? Are there professionals out there that will come and help me get set up? This is way over my head. The campground has said they have good Verizon coverage which I would think will help with my jet pack or my phone hot spot. I’ll take any suggestions you may have. My company works through a VPN
Hi Gloria! Thanks for your note. I have to admit, I know how our system works, but I’m not an expert in this area. And I’ve never worked on a VPN. If you’re hoping to boost the cell signal to your Jetpack, you can install a system like we have and run an ethernet directly from the router to your laptop.
As far as professionals who will help with this type of installation – the only person I know is our friend, Scott. And he doesn’t travel to the east coast. That said, my understanding is that these are pretty simple components. If you have a friend who is tech savvy, they might be able to help. I’m sorry I can’t do more! Good luck to you.
What is average monthly cost for internet service with ATT and Verizon combined for the service you use?
Hi Janel! It’s a little tough to break out because all of our devices are part of a package. I’d guess we’re paying around $80 for a 15 Gig plan. I hope that helps!
I’m trying to follow this and for the most part I do. But who do you use as your internet provider?
Hi Kim! We have both Verizon and AT&T. Depending on which signal is best, we switch the SIM cards in our modem to take advantage of the stronger signal. I hope that helps!
So, for my online company, I am required to have a computer plugged into my router with an ethernet cable, and high speed internet. This set-up would meet these requirements, yes?
Hi Sandy! The router we use does have ports for ethernet connections, so I believe that part would work for you. However, when you say “high speed internet,” that’s a bit more subjective. In some places we have upload and download speeds in the 35-40mbps range. But in other places we’re able to work with 2-4mbps. We’re not streaming data, so it would depend on what your requirements are as to whether this would work for your business or not.
This is extremely helpful information. Thanks very much. I would be providing online instruction to students, so streaming would have to be high quality.
Glad to help, Sandy. Good luck to you!
Linda Zeiter Thank you! I’m so happy to help!
Our other option is satellite, which I can’t use for work. This is one of the most helpful things I’ve read!
At home it’s often less expensive to use an option other than cellular data, Linda – but if it’s all that’s available to you, this could be a good solution!
Fascinating! Now to figure out how to get this upgrade for our home!
Great! Thanks for sharing, Harold.
Impressive setup. I sent the link to one of my techie RV friends who is an electronic wizard.
My pleasure, Pamela! We’re learning as we go, and if we can help other people along the way … even better!
Interesting to see that you’re using an internal and external antenna. That could be a cost savings for us since equipment that stands up to marine use is far more expensive than stuff you can get for trucks and RVs.Thanks for sharing the details of your set up.