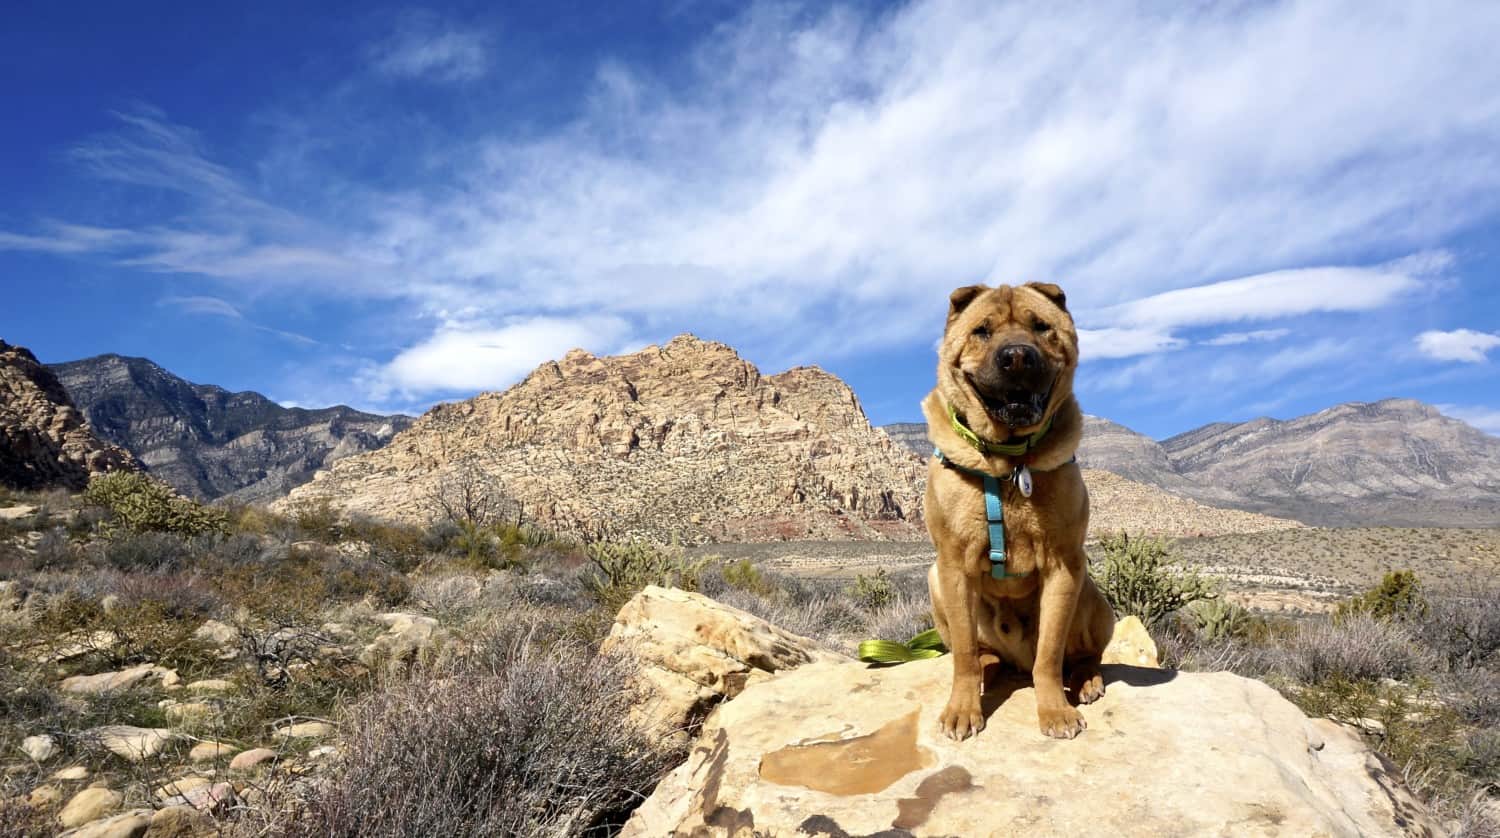
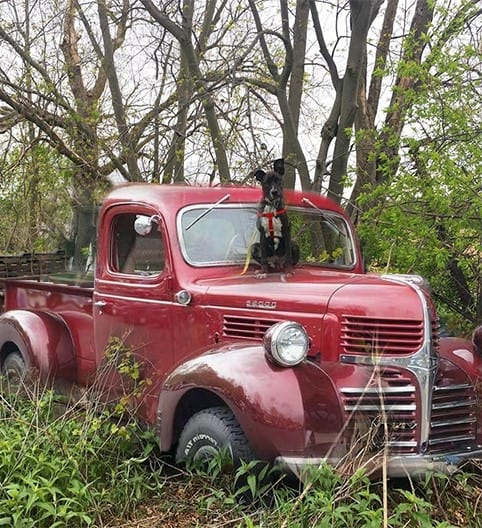
Traveling for twelve years with our dogs taught me a lot. Among the lessons I learned was how to get a dog to pose for photos. Ty and Buster were legendary for their skills. But when our puppy, Myles, came along I really had to get creative!

Snapping and sharing pictures of Ty and Buster in the gorgeous places we visited was part of the fun of traveling with them. Well, calling it “fun” might be a bit of a stretch. When we first started out “chaos” would have been a more appropriate description of our photo shoots. But we figured out a few tricks to get a dog to pose for photos! And soon we were getting these types of comments:
“I’m so impressed that your boys will pose!”
“If I’d let go of the leash, my dog would be in the next county.”
“Look how well-behaved they are! And how photogenic!”
“Do you know how many pics I’d have to take of my pack to get one that looked this good?”
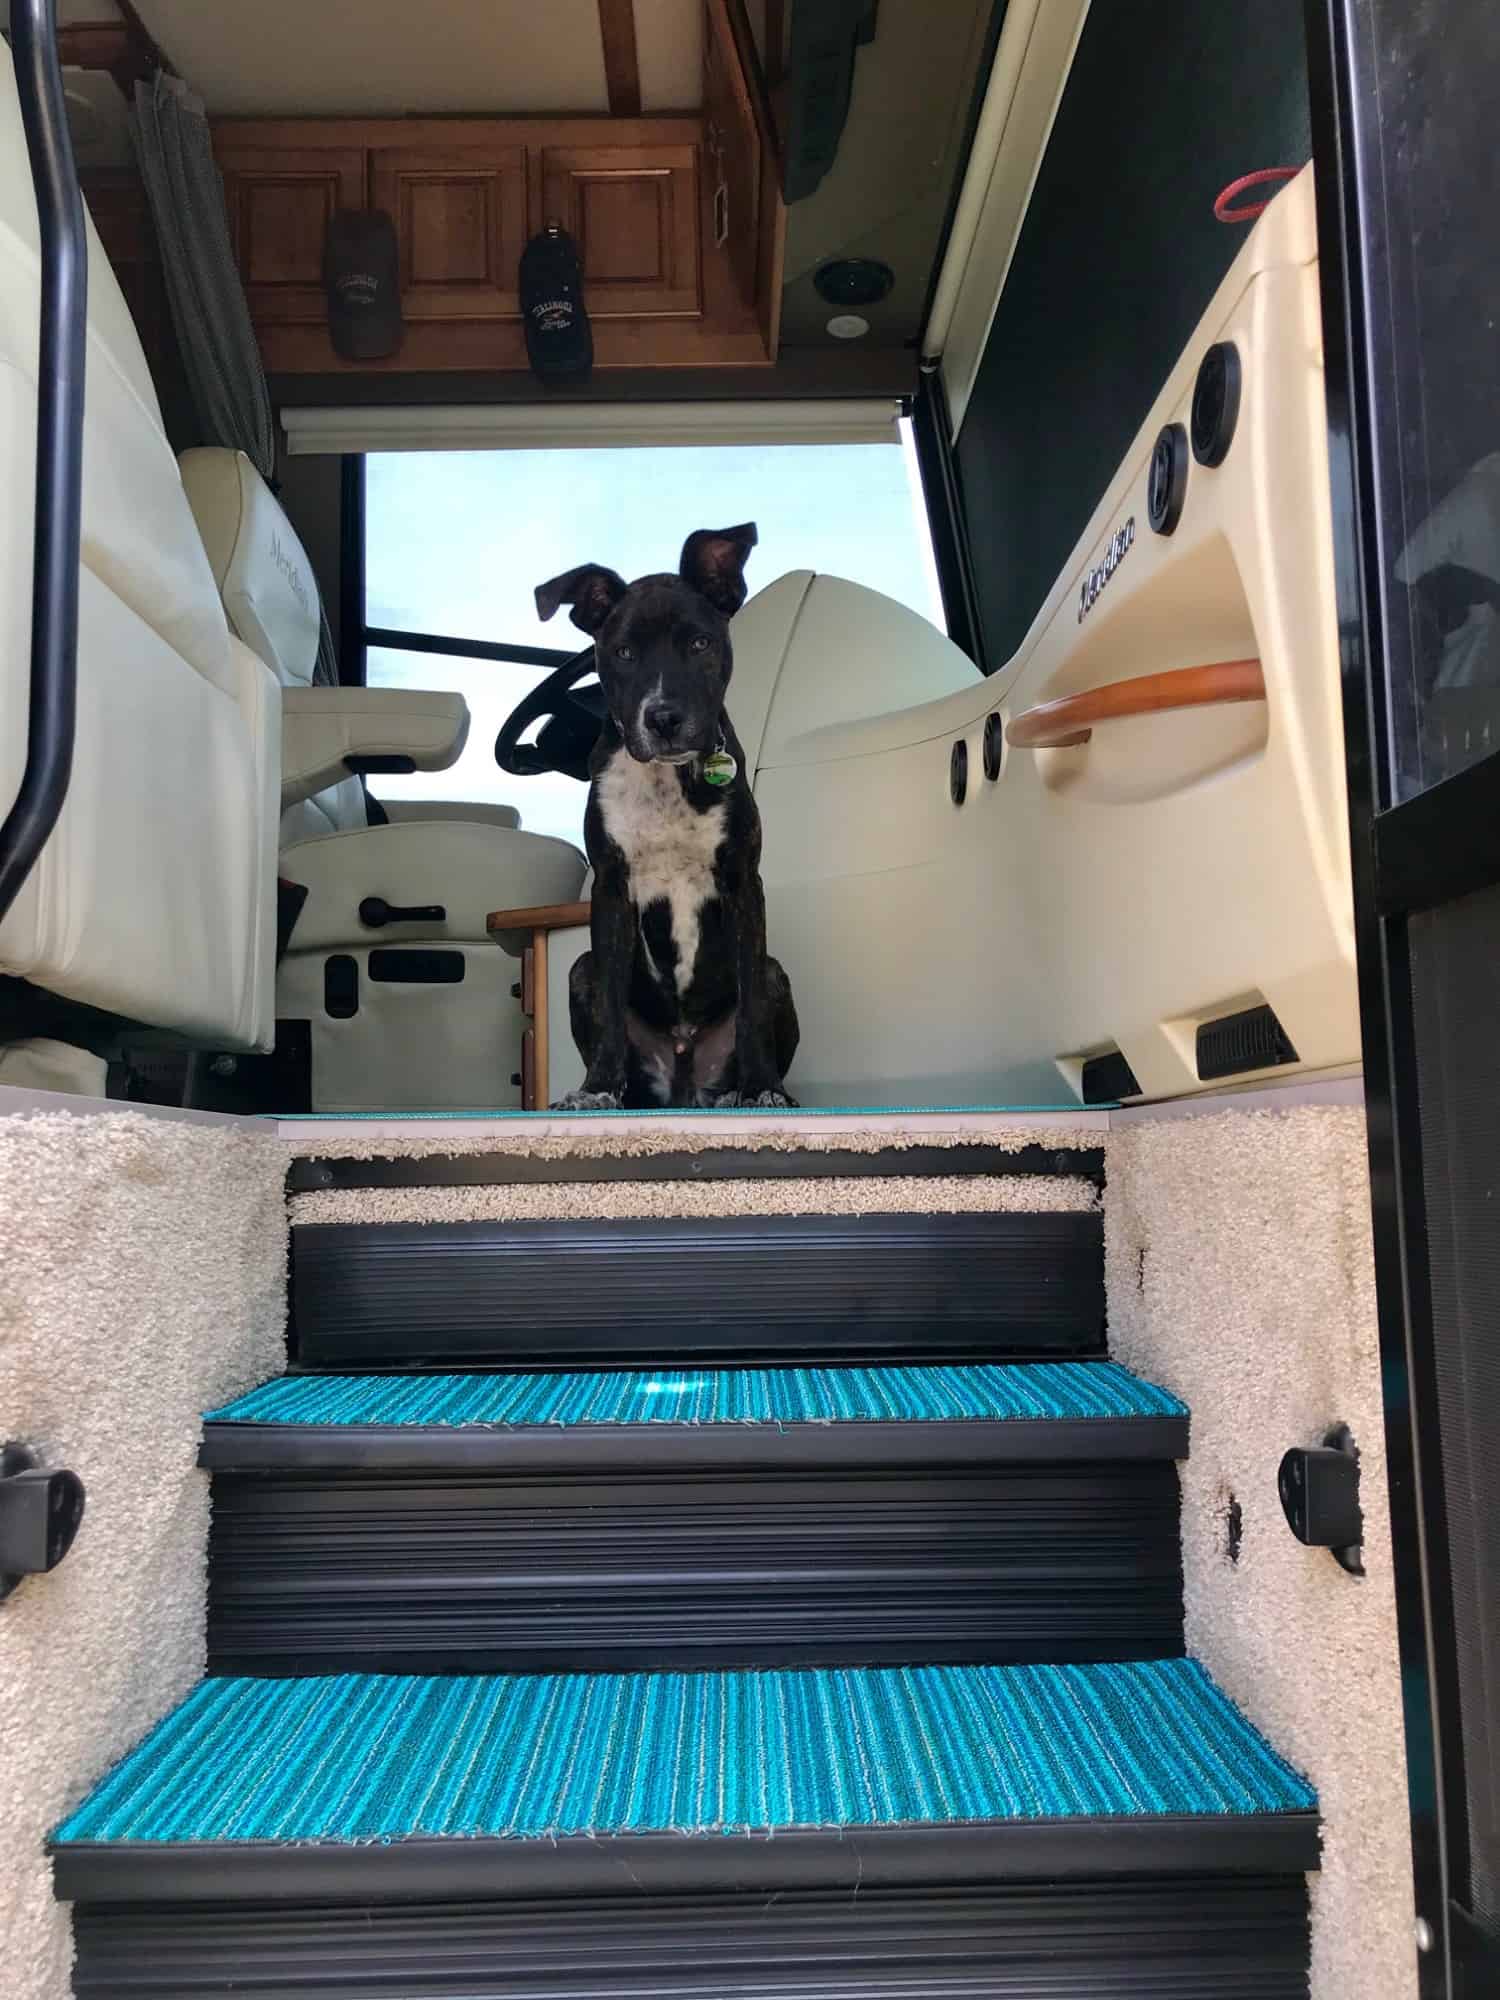
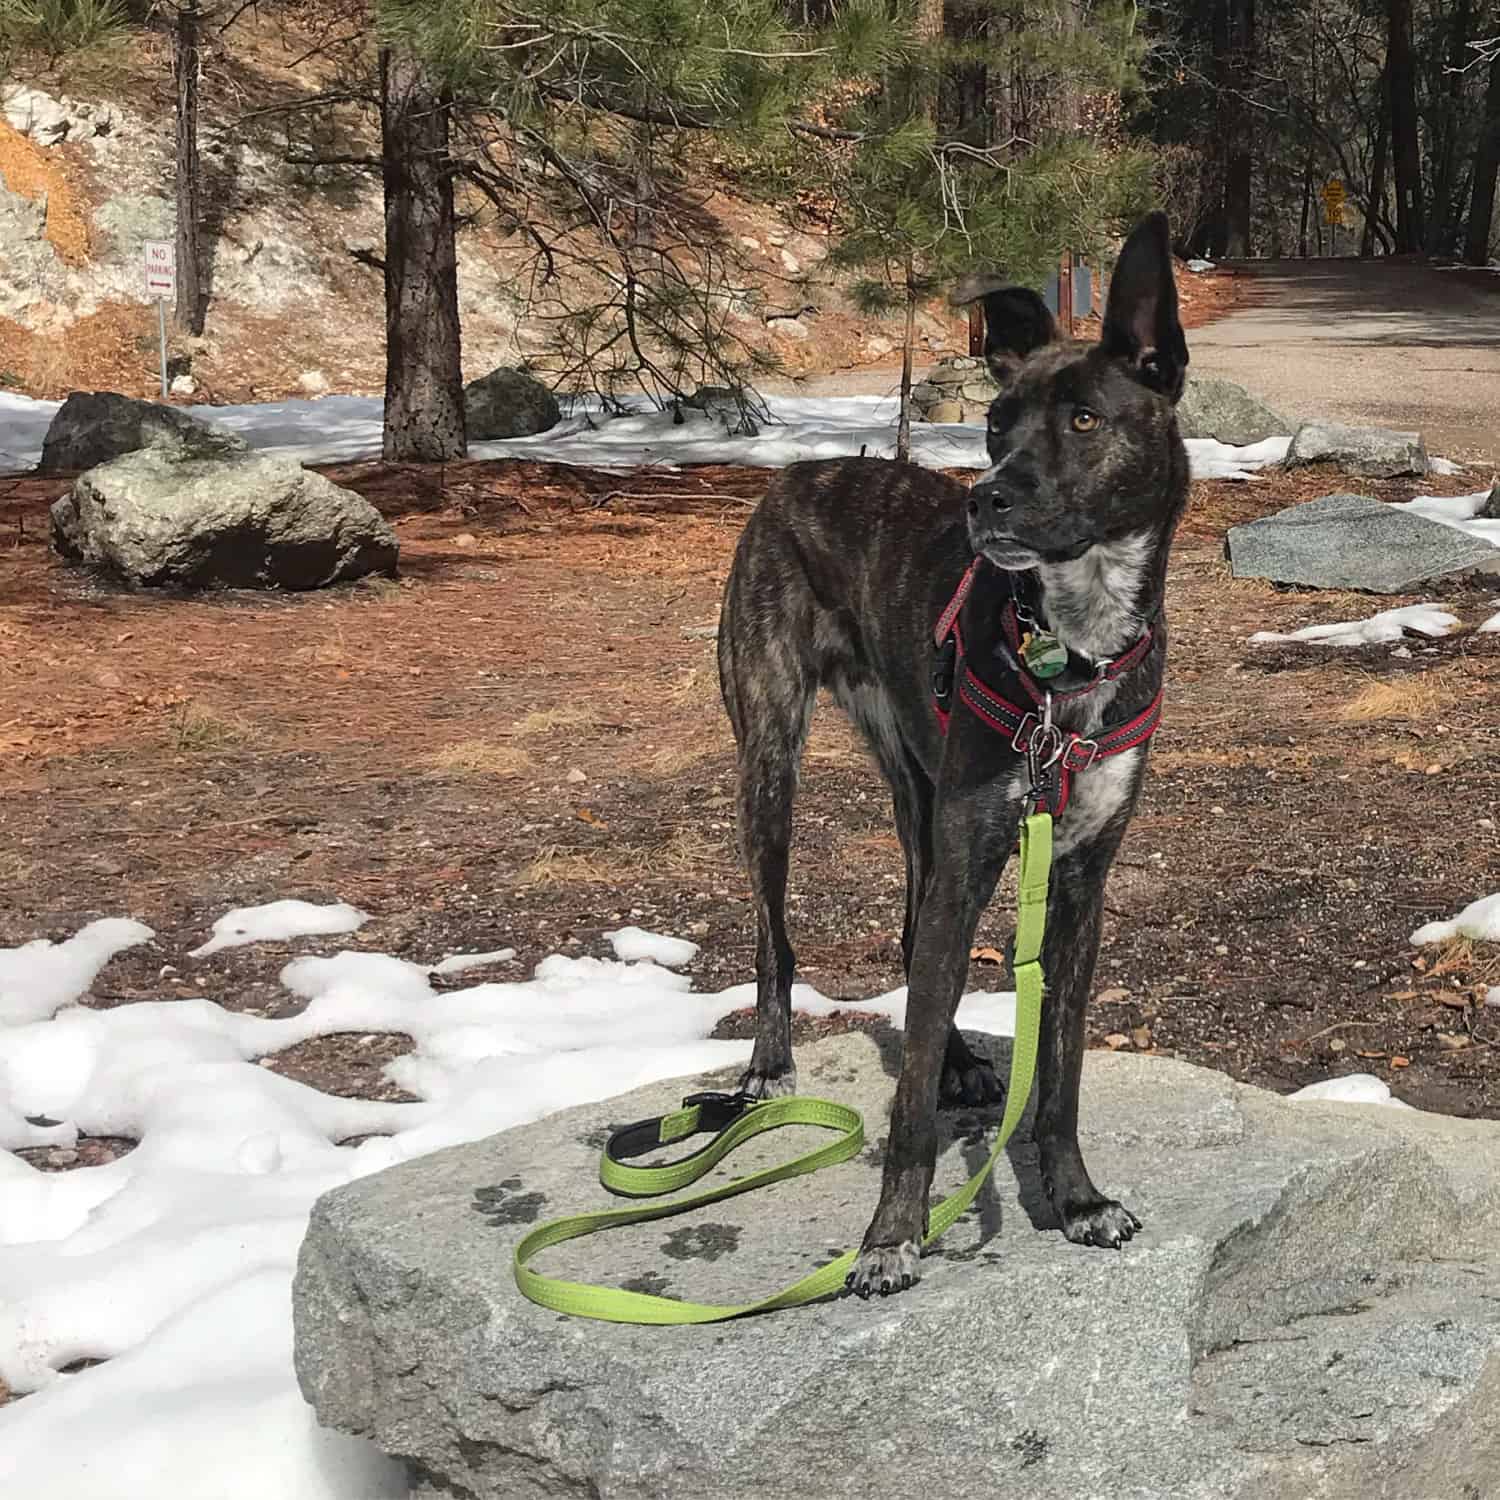
After Ty and Buster passed and Myles came along, teaching him to pose for photos was a priority. Testing my theories on our new pup as convinced me I’m on the right path. Myles already loves the camera, and you can be the judge how his photos are turning out!
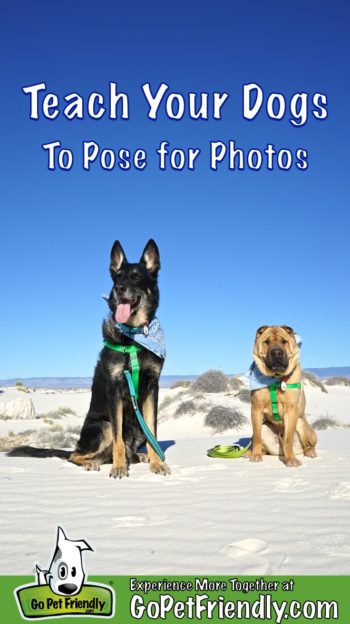
You Can Teach Your Dog To Pose For Photos
Teaching your dog to sit nicely for a photo isn’t rocket science. If we can do it, anyone can! All you need is a camera, a handful of treats, and a boatload of patience.
READ MORE ⇒ The Ultimate Pet Friendly American Road Trip

Step 1 – Start With A Solid Sit
To get your dog posing for photos, the first thing you’ll need to teach him is the “sit” command. A trainer we worked with years ago and who truly grasped my capabilities concluded it would be best to keep things simple … so around here, sit means sit.
When I say “sit,” it means, drop your bum to the ground and keep it there until you’ve received another command or been released. We don’t use “wait” or “stay” commands because they would be redundant.
Working on your dog’s “sit” is something you can do 100 times a day without breaking a sweat. Just keep some treats in your pocket and every time your dog is around ask him to sit. When he does, release him and give him a treat.
We use the word “free” to communicate that our request for a behavior has ended, but any word will work. Over time you can lengthen the duration of the sit, add distractions, practice in new environments, and combine it with other commands, like “come,” which will also be handy when you start taking photos.
A (Not So) Brief Aside On Why We’re Constantly Using Treats
This may come as a shock, but dogs are dogs. They like doing dog things … sniffing trees, chasing squirrels, eating things they shouldn’t, taking naps in the sunshine, and romping around. They are not aspiring models and couldn’t care less about your photographic ambitions.
When humans choose to set aside their heart’s desire and do something else we call it “work.” And we generally get paid for it. So it seems fair that when we ask our dogs to give up their preferred activities and do what we want instead, we should pay them for their time. That could mean treats if your dog is food-motivated, or his favorite toy if he prefers to play. Whatever it takes to let your dog know how much you appreciate his choice to accommodate your whims.
Step 2 – Training “Watch Me”
It’s common knowledge that dogs do not like to be stared at. And when they are, few dogs will stare back. Usually they will avert their gaze, which becomes a problem when you realize that a camera lens looks a lot like a huge eye, and we want our dogs to look at it.
The effort it will take to get your dog comfortable with the lens depends on the camera you’re using and your dog’s personality. If you’re taking photos with your cell phone, you’ll likely have an easier time getting your pup to warm up. The lens on a cell phone camera is small, and our dogs see our phones all the time, so it’s not a new object that warrants caution. If you’re using a larger camera, things might take longer.

No matter your method of collecting photos, you’ll want to start teaching your dog a command that means “look at the camera.” For us, that command is “watch me.” Get out your treats, start slowly, and reward him as he improves.
In the beginning you might only get a small head turn toward you. That’s good — build on it! It can take some time for your dog to build his confidence enough to overcome the natural inclination to look away from the camera.
We practice “watch me” every time we feed Myles. After setting his bowl down, we ask him to maintain eye contact until he’s released. He learned that one really quickly!
Step 3 – Develop Your Patience
The line between fun and frustration is razor thin when you’re trying to get the perfect photo of your dog. Your pup might be having an off day, there could be people be blocking your shot, or your camera settings might be all wrong. So many things can go awry!
When you feel the angst building, take a deep breath and remember that you’re out having fun. Dogs can sense when we’re feeling irritated and that can make them anxious. And just seeing your furry buddy doing his best to accommodate your nutty plan should melt your heart.
READ MORE ⇒ Best Pet Friendly National Parks
Step 4 – Practice, Practice, Practice
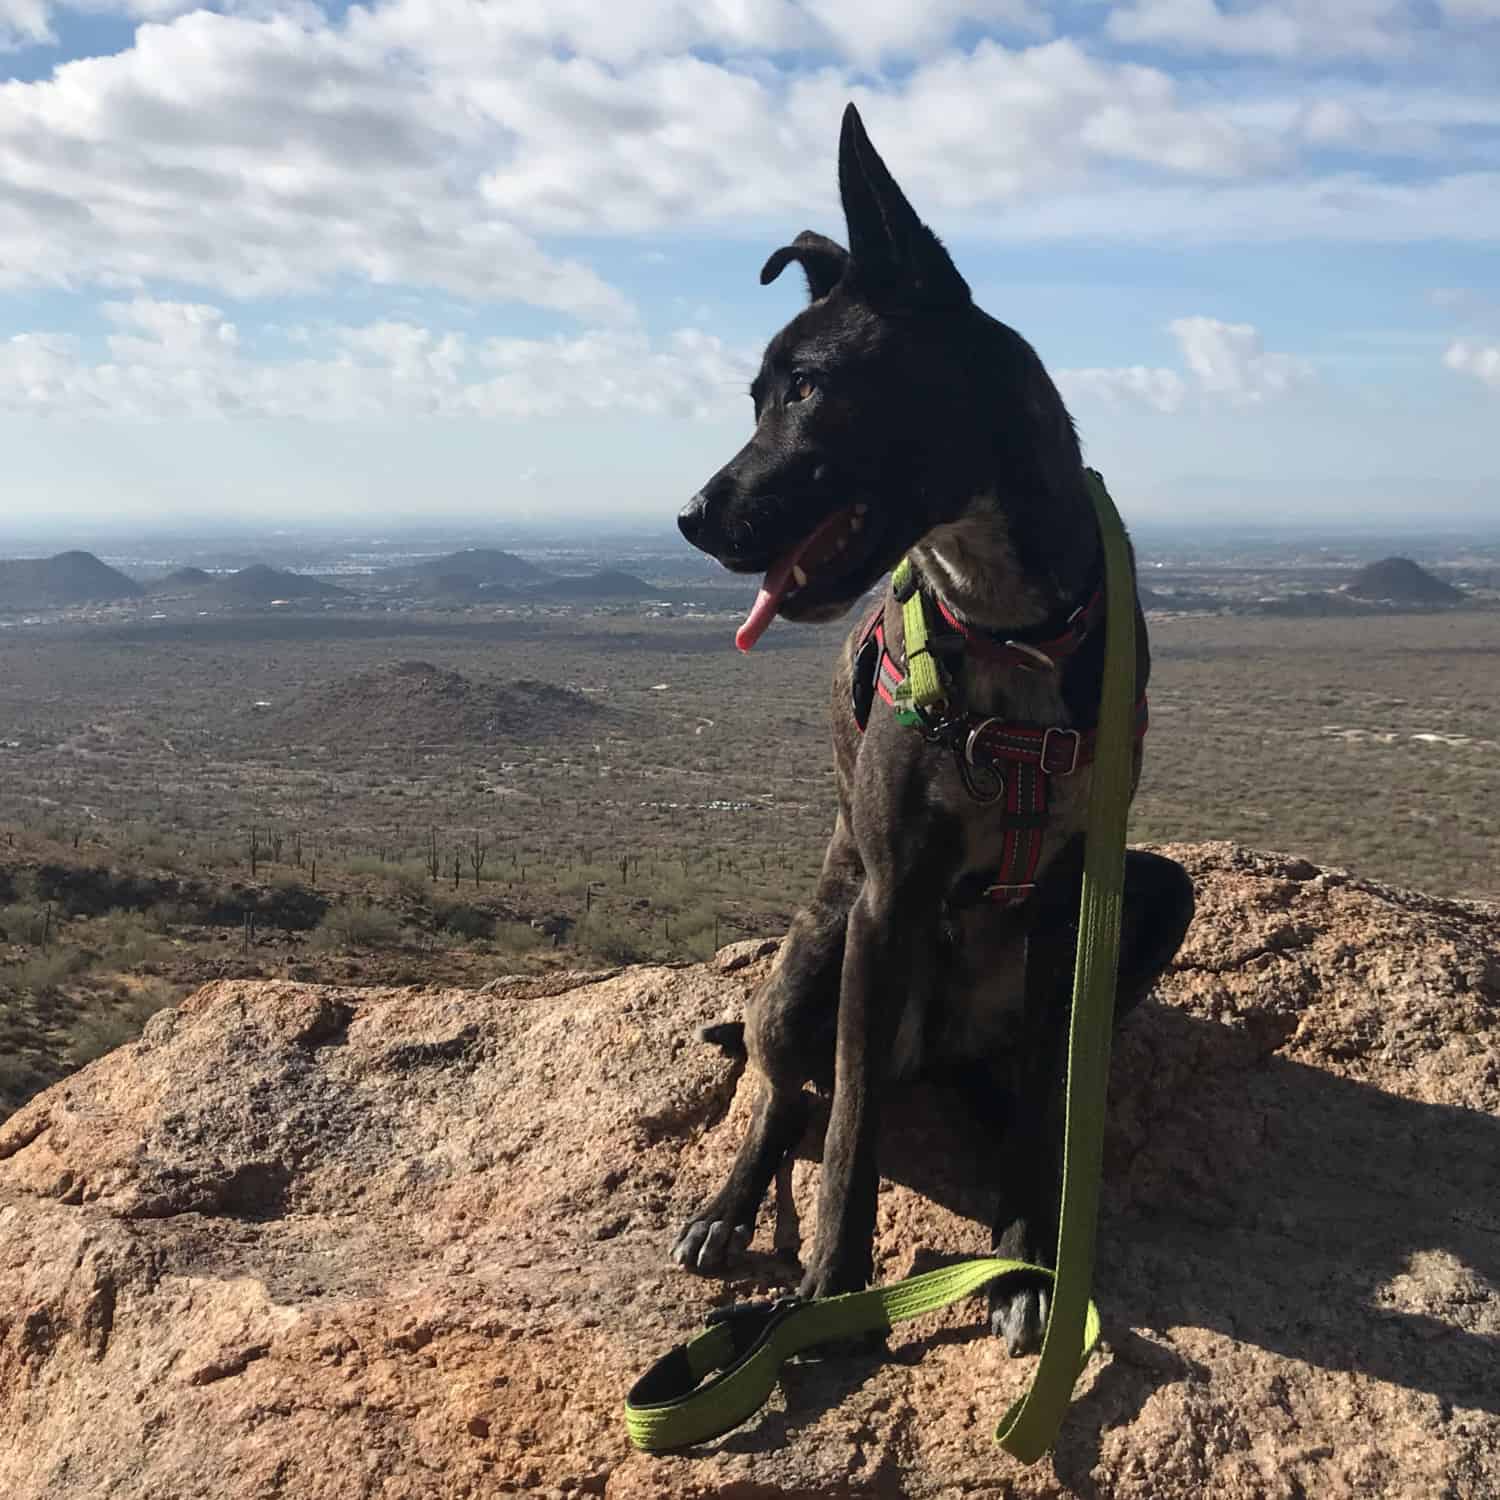
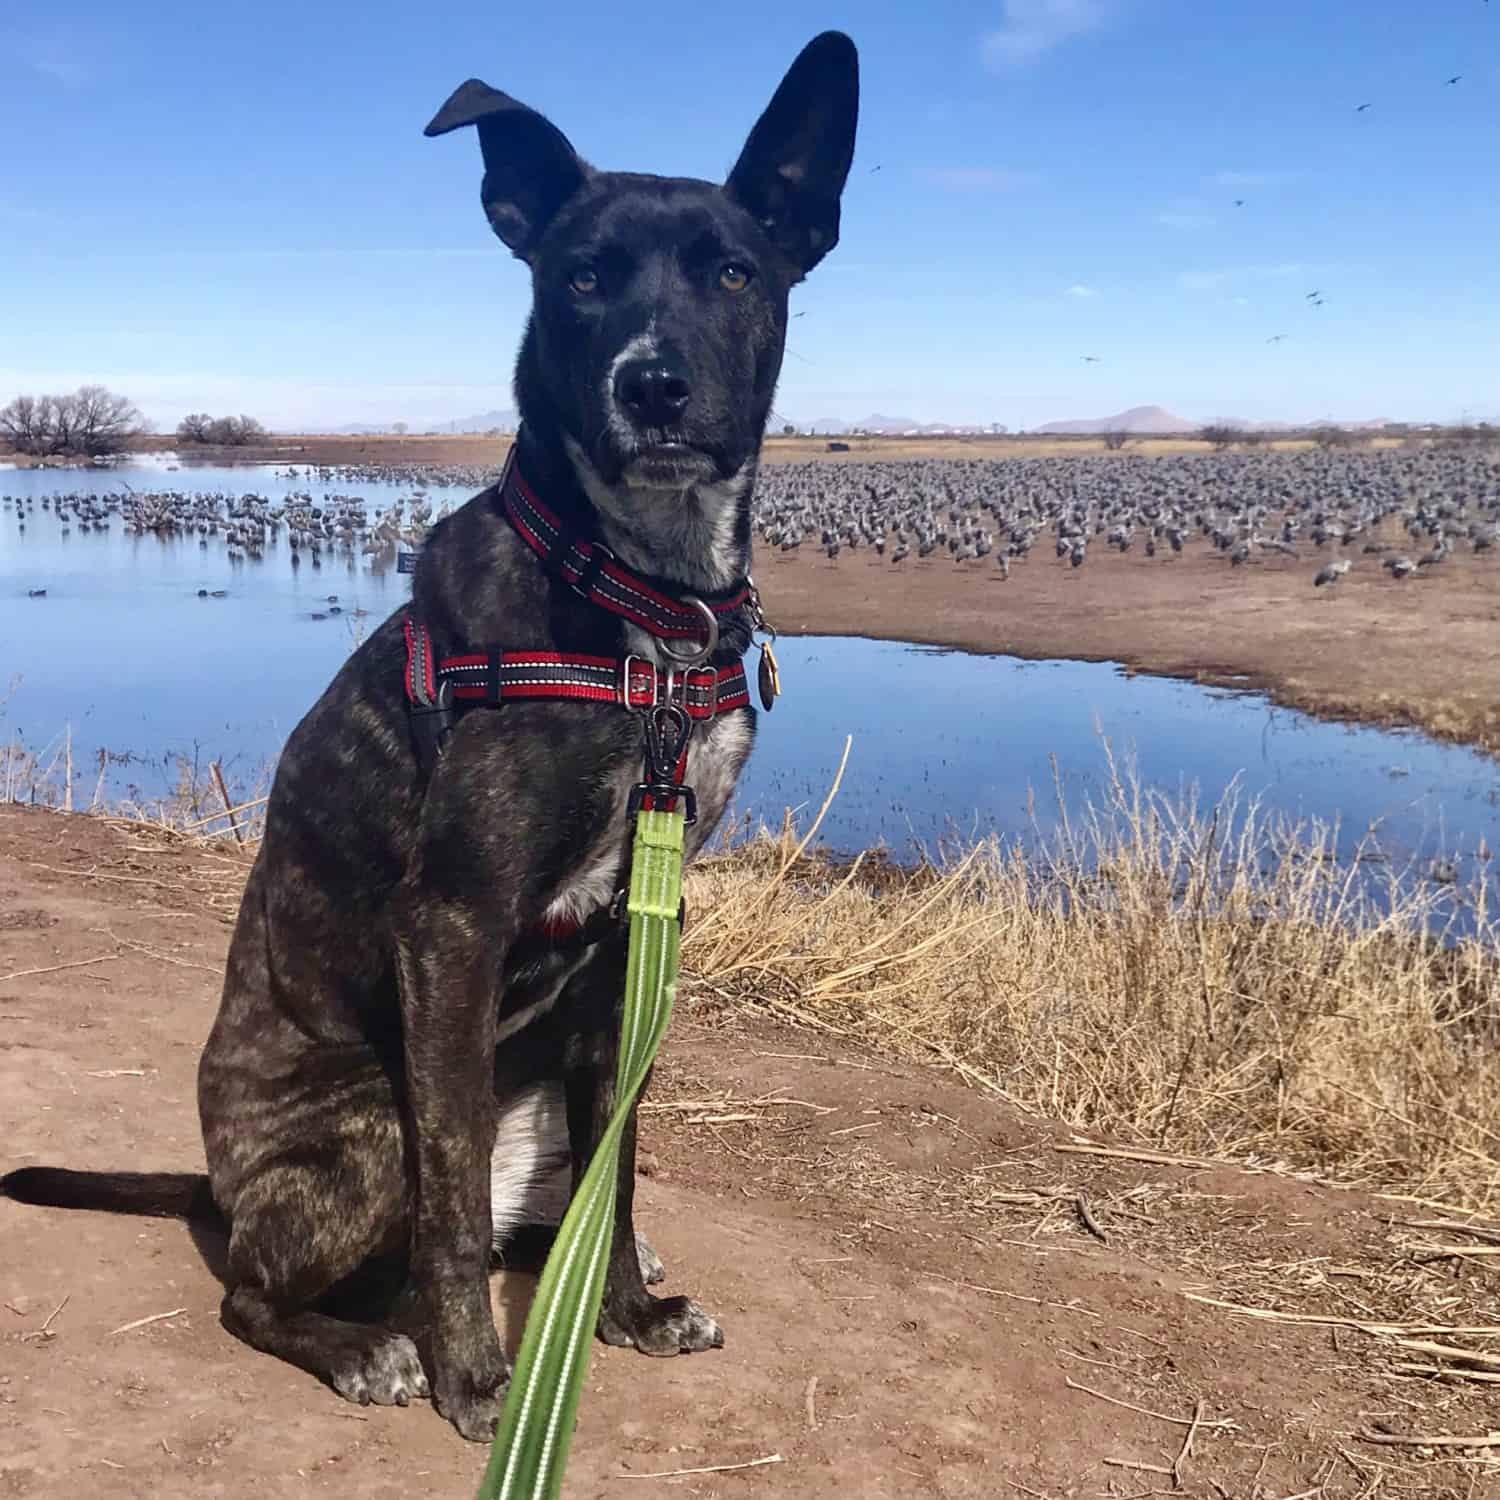
As with anything you teach your dog, the more practice he gets, the better the results. Start out shooting photos in places with few distractions and slowly work your way into more challenging settings. That means if you want your dog to pose on your next vacation, you need to start taking his photo in your kitchen now!
Because we were always sharing our pics, Myles was posing for photos several times a week. Here are the steps we follow:
- We ask Myles to sit while we line up the shot.
- Then, depending on the photo, we sometimes giving him the “watch me” command while we snap several pictures.
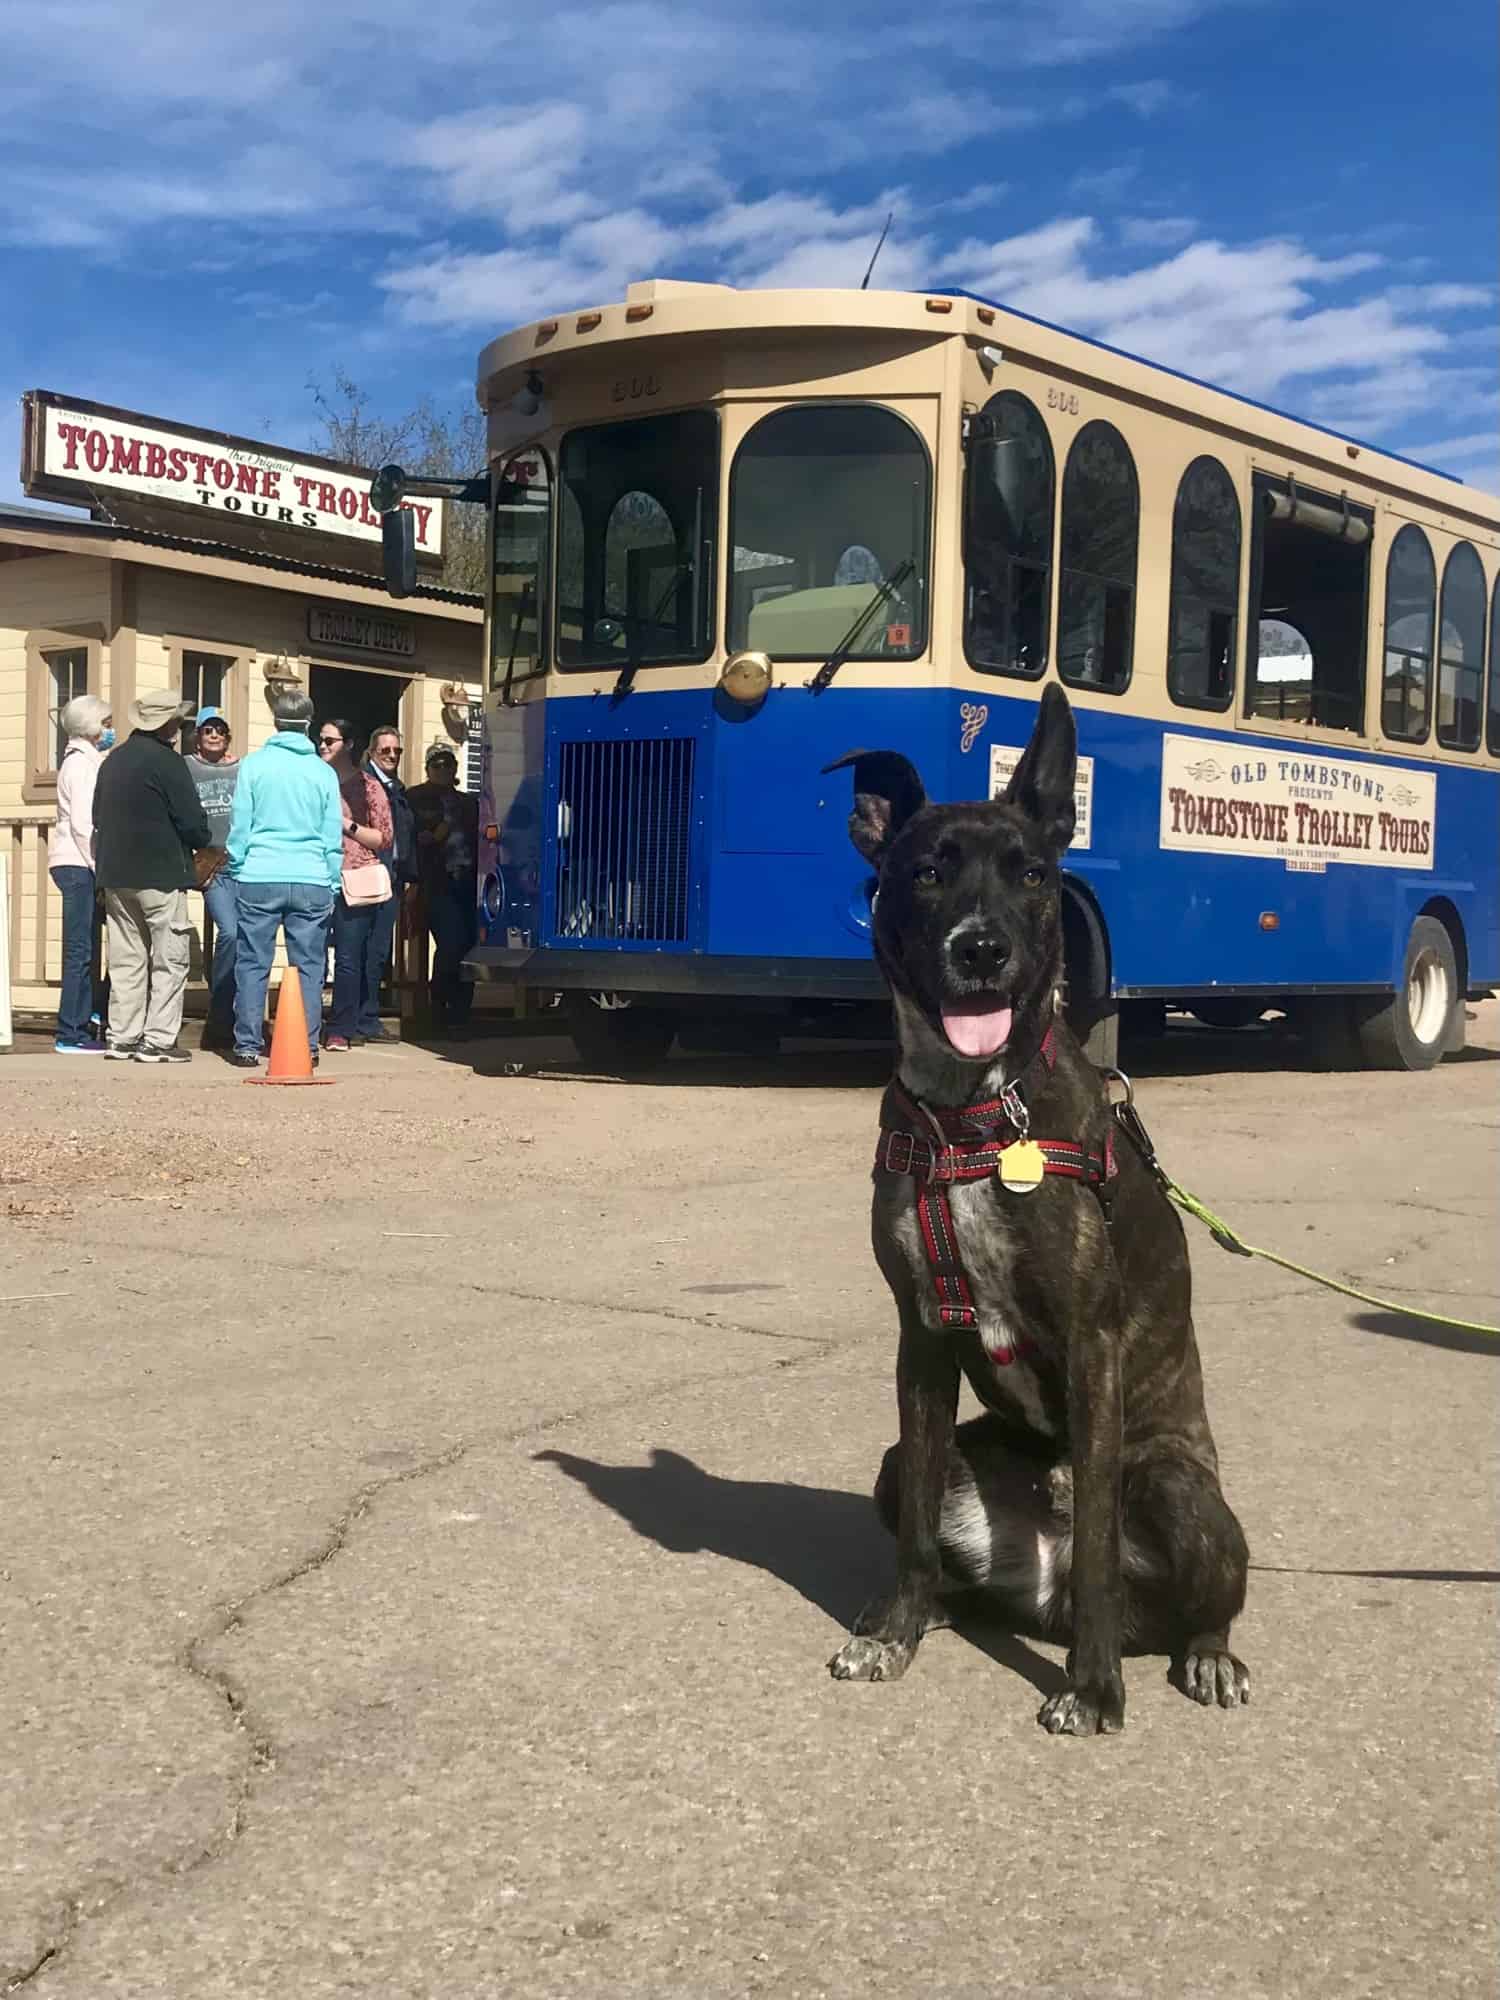
- When we think we’ve got the shot, we release him with a “come,” and pay him with some treats. The number of treats he gets depends on how challenging the situation was. (Dogs walking by or lots of people around means more treats for Myles.)
As he learned our routine, we were able to get great pictures on all of our adventures.
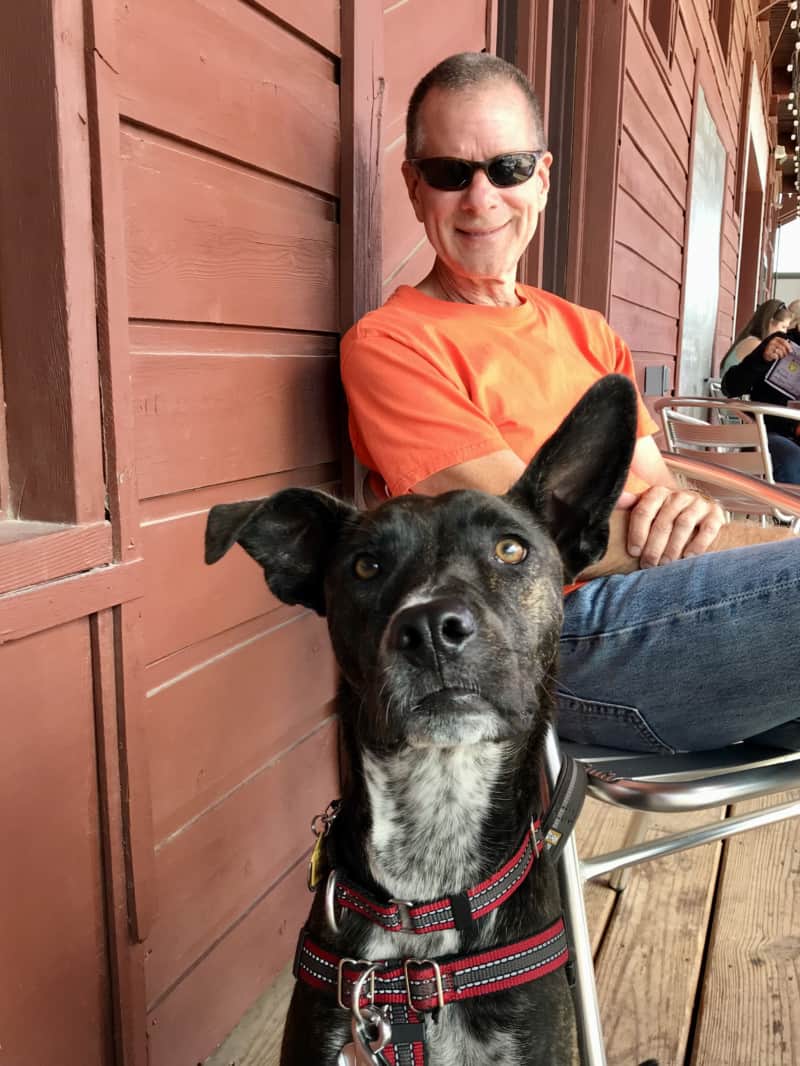
Step 5 – Embrace Imperfection
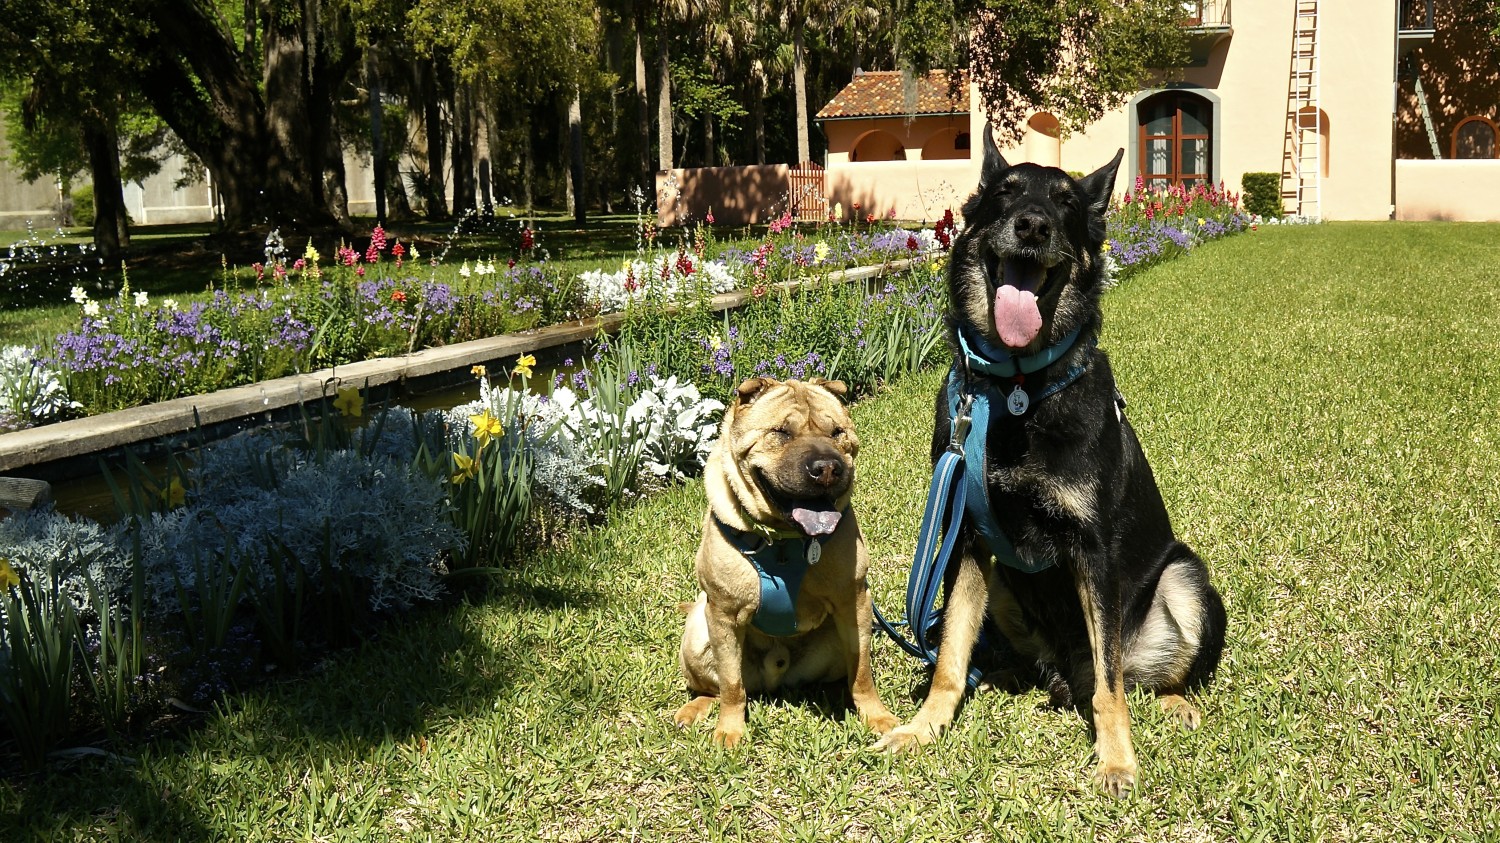
Sometimes the best shots are the ones I least expect to turn out. After all their years as models, even Ty and Buster didn’t cooperate 100% every time. And I came to realize that what we were capturing in those moments was just a precious.
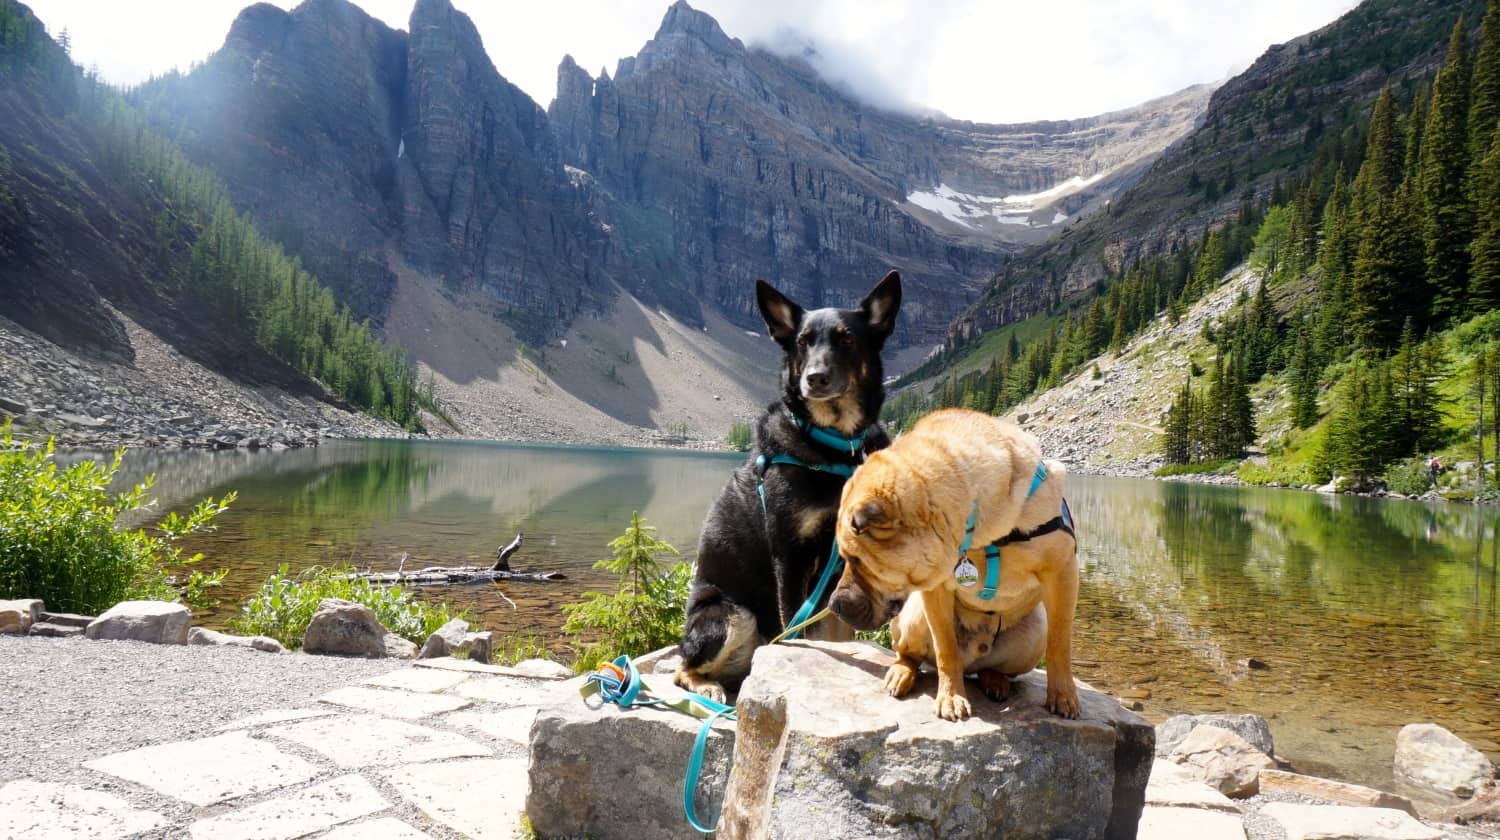
One of my favorite examples happened on a visit to Lake Louise. We’d hiked up to Lake Agnes, and I was taking some photos of the dogs while Rod was getting us a sandwich. During the shot, Ty looked down and discovered a dead chipmunk under the rock he was sitting on. The look on his face and the memory of trying to wrangle two dogs into dropping a dead rodent still cracks me up!
When you’re having fun with your pets, the camera captures the feelings in a way I can’t explain. So embrace the imperfection, and be grateful for the fact that you’re out experiencing the world together. Because – no matter how the images turn out – you’ll always have the memories.
Step 6 – Know When To Walk Away
No picture is worth asking more of your dog than he’s able to give. When Myles was a puppy, he was easily distracted and not completely reliable with his “sit” and “come.” Ty and Buster also had their own behavior challenges.
The point is, every dog has his limits – just like humans. And, as his person, it’s your job to understand and respect your dog’s boundaries.
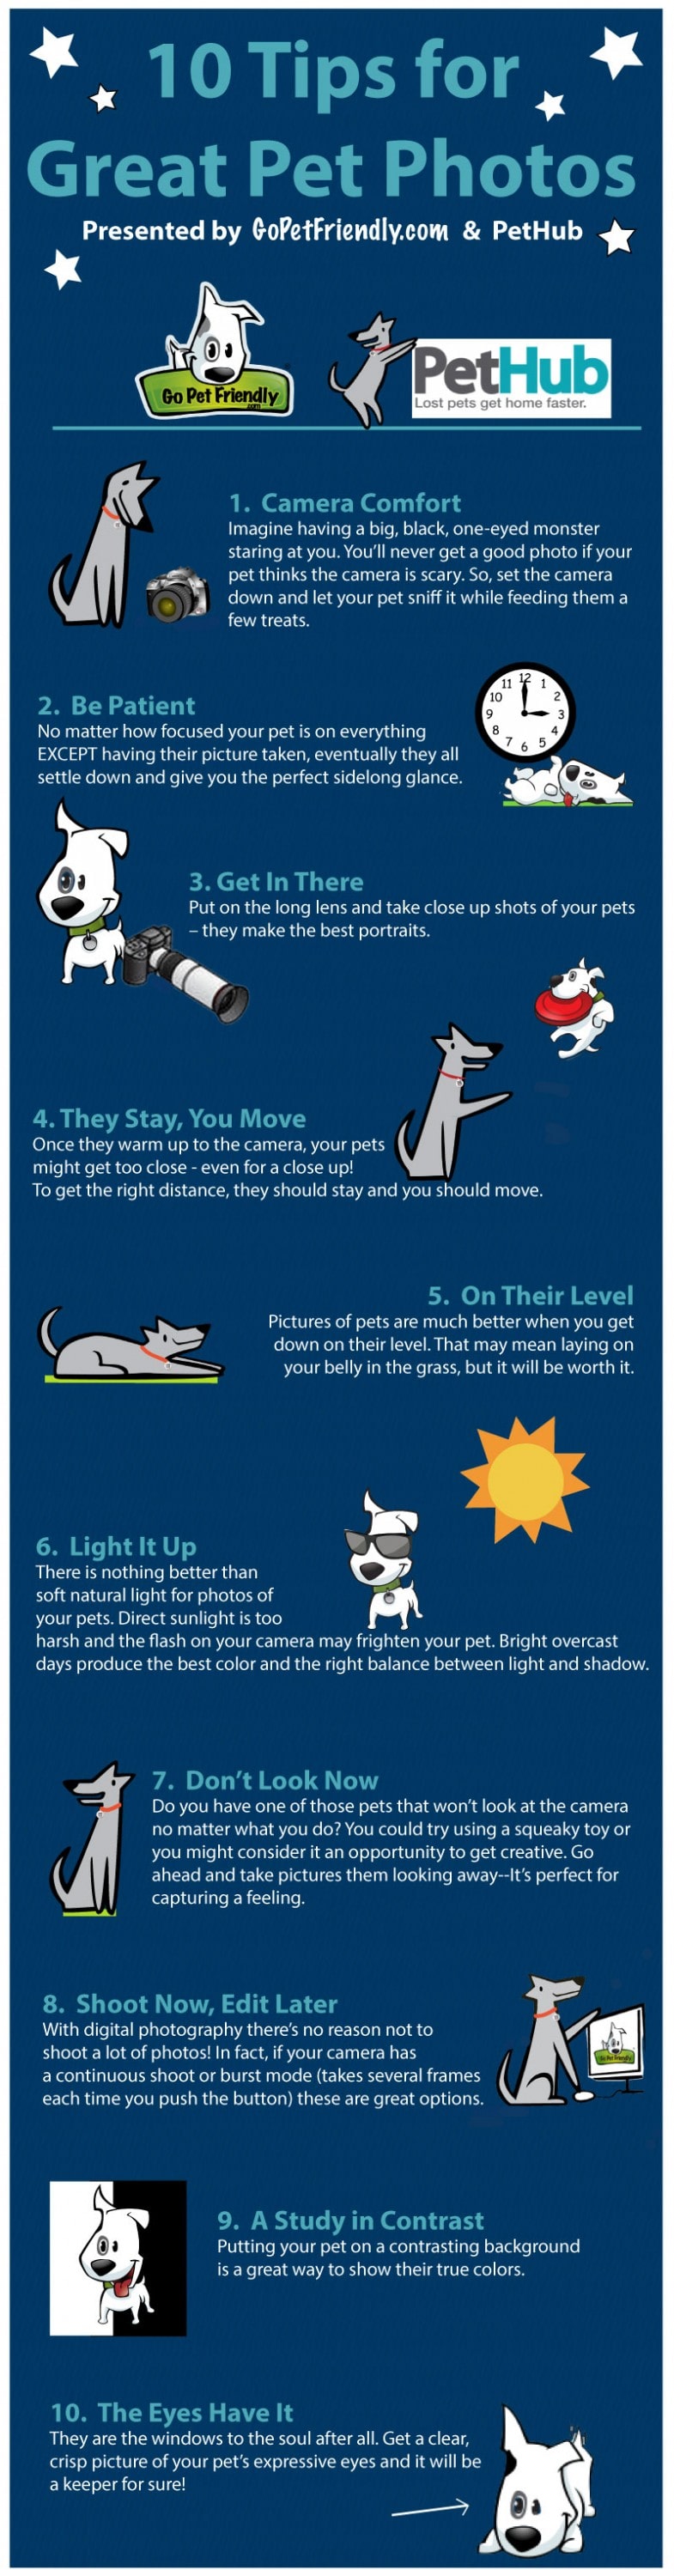
And that’s all there is to it! With a little practice, you can have your dog posing for photos in no time. To make these tips to get your dog to pose for photos easy to remember, our friends at PetHub created a handy info graphic:


Thank you, I’m going to try this and see if I can get my princess to pose for me!
Good luck, Carlos!